CONTENTS
1. Introduction
The CSV uploader is a great way to upload bulk transactions, thus making it the faster and more efficient way to create receipts from your bank statements or CSV files.
A CSV file containing a list of transactions can be uploaded at once, which allows you to save time as opposed to if you were to create receipts for each individual donor.
2. Setting up the receipt methods

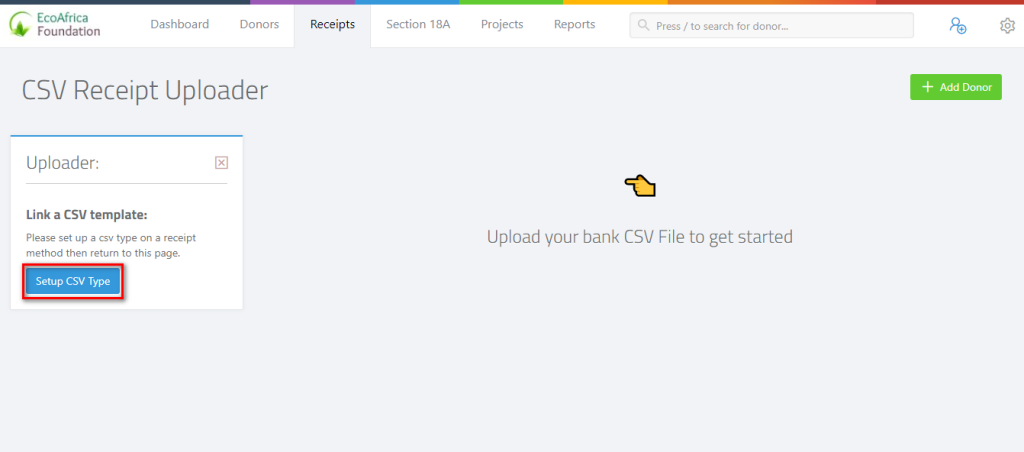
If you have not linked at least one receipt method with a CSV template, you will be presented with the screen above. Click on the “Setup CSV Type” to associate a template with the receipt method.
Please consult this guide on how to do setup the receipt method.
3. Using the CSV Receipt Uploader
From the receipts, page click on the upload button in the top right-hand corner next to the “add receipt” button.

You will be directed to the “CSV Receipts Uploads” page.
On this page, select the CSV file you wish to upload and the corresponding receipt method for the file. Once you have chosen a file click on the “Upload” button and wait a moment for the statement to load.

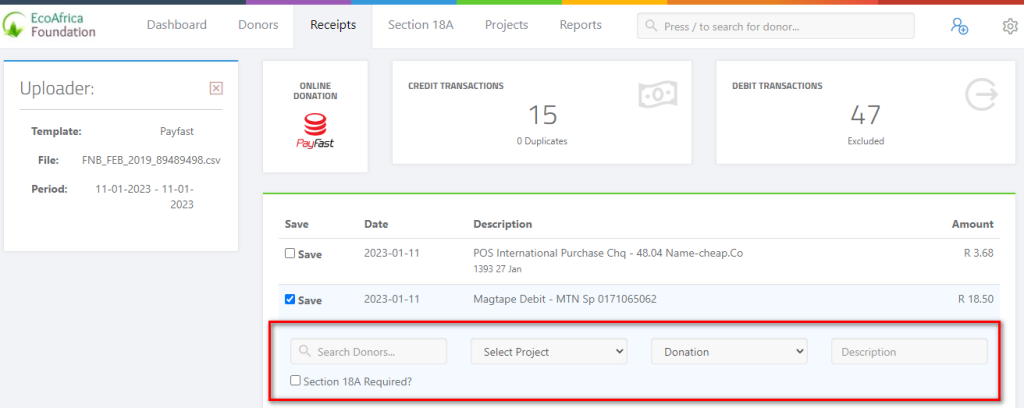
After the file has been uploaded you will be presented with the list of transactions so you can issue receipts.
The receipt uploader automatically excludes all debit transactions from this list, so any payments that were made from your bank account will not be shown here.
You can now allocate receipts to donors by selecting the donor’s name and the project to which they have donated. You may optionally add a description if necessary.
If a donor does not exist in your ActiveDonor account, you may add the new donor using the green “Add Donor” button in the top right corner. Thereafter that donor can be assigned to any receipt immediately.

If a receipt was previously issued on any of the transactions in this list, will have the receipt number in the first column. This prevents duplicate capturing of receipts that may have been issued previously using the CSV uploader.

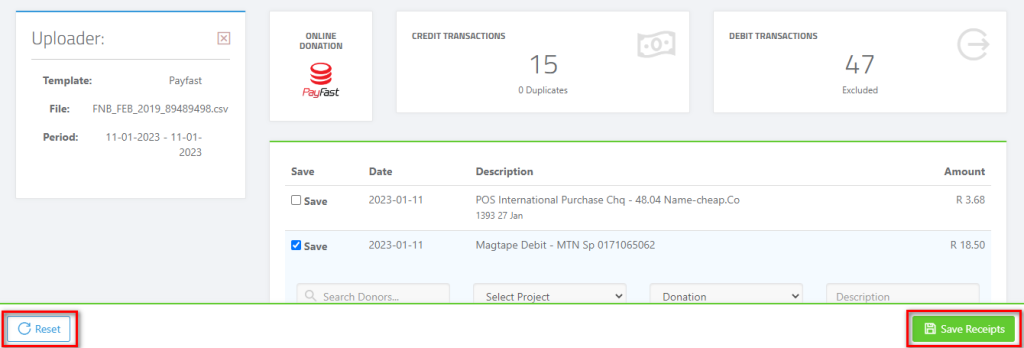
Once you have allocated the receipts to your donors, remember to save the receipts by clicking on the “Save Receipts” button at the bottom of the page to issue your receipts.

If you wish to reset or upload another CSV file, click on the “Reset” button to reset the page and upload another CSV file.