- How to enable Donor Capture Forms
- How to send Donor Capture Forms
1. How to enable Donor Capture Forms
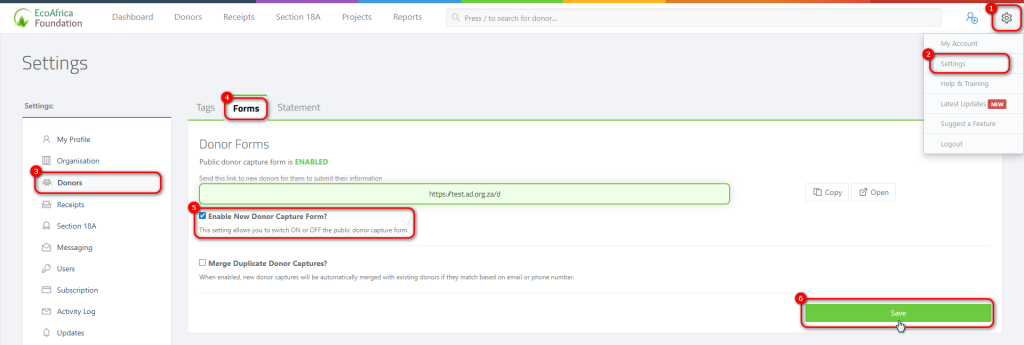
First you will need to go to settings by clicking on the icon in the top right corner (labelled 1), then click on “Settings” (labelled 2).
Next you will navigate to the “Donor” tab (labelled 3).Then click on the “Forms” tab. (labelled 4), click on the check box “Enable New Donor Capture Form” (labelled 5).
Once you are done with your selection make sure to click the “Save” button on the bottom right of your screen (labelled 6).
| 💡 Note: This feature can be switched on or off at anytime, and is a great new tool for quickly adding donors to your database via social media ads by adding your Donor Capture Form Link. |
2. How to send Donor Capture Forms
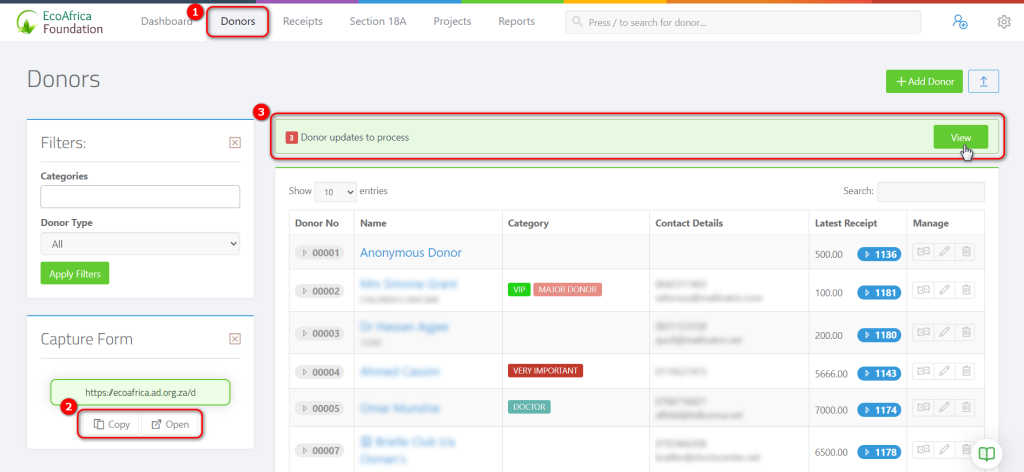
Go to the donor page by clicking on the “Donor” tab (labelled 1)
Here you will find your new Donor Capture Form link, on the left side of your screen (labelled 2), from here you can choose to copy the link and share it with potential donors or add the link to your social media profiles or you can open the link and view the form.
To view submissions by donors who have filled in the form, navigate to the Donors page. Above the table listing all your donors, you’ll see a notification. Click on View to see a list of all submissions.
You will now be on the Donor Submissions page.
Here you will be able to view all submissions that need to be processed, as shown in the picture below.

Orange tags are existing donors that have updated their information.
Green tags are new donors that have filled in their information.
To save a donor you can click on the save icon in the “Action” column, as shown in the picture below.

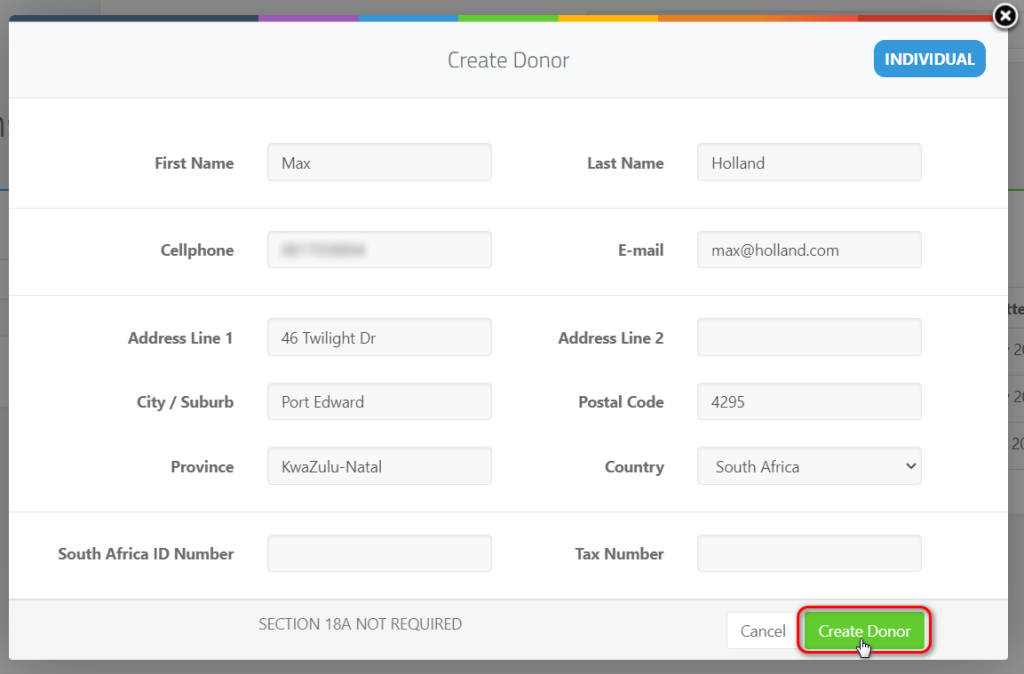
When clicking save you will be able to see the donors information and select “Create Donor” button to save the new donor, as shown in the picture below.
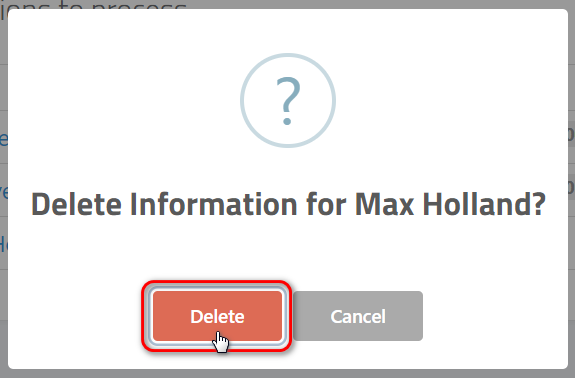
To delete a donor you can click on the delete icon in the “Action” column, as shown in the picture below.

Then click on the delete button to confirm that you want to delete the donor.
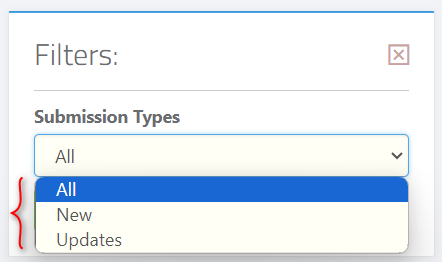
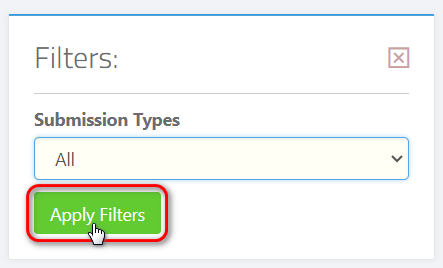
You can filter your Donor Submissions by using the filters on the left side of the screen, click on the drop down and select the option you want and then click on the “Apply Filters” button, as shown in the pictures below.
