This guide will walk you through the process of creating a new donation receipt in the system. You can add a receipt through the donor’s profile or from the donor page. Follow the steps below to complete the process.
Video: How to Issue a Donation Receipt on ActiveDonor
Adding a New Receipt from the Donor’s Profile
- Navigate to the donor’s profile.
- Click on the Add Receipt button located at the top right of the page.

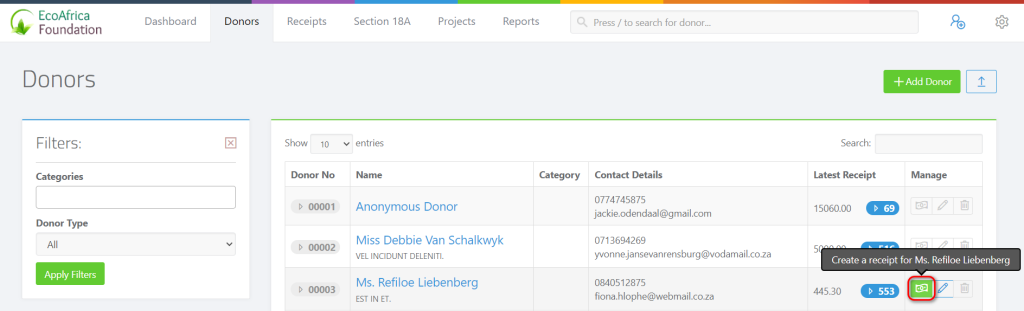
Adding a New Receipt from the Donors Page
- Go to the Donors page.
- Search for the donor using their name.
- Click the Add Receipt button in the last column.
Filling Out the Receipt Form
On the receipt form, enter the receipt type, amount, date of receipt and receipt method as well as which project the funds should be allocated to.
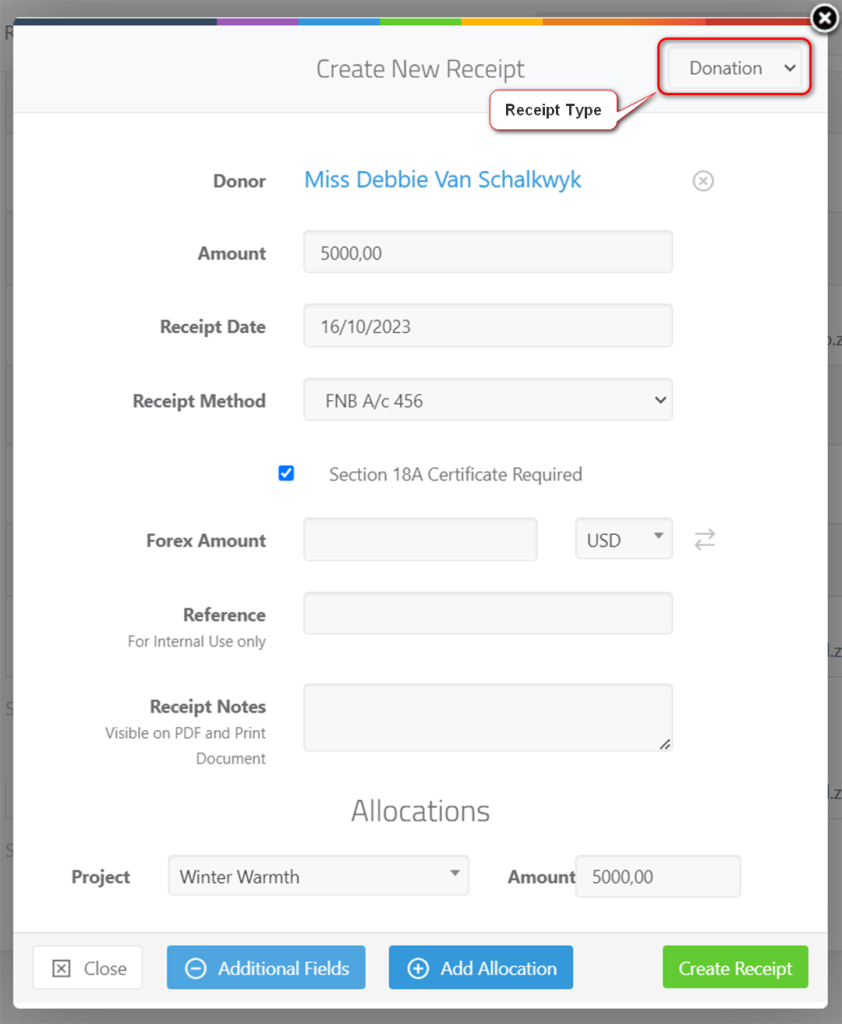
- Receipt Type: Choose from various receipt types such as Donation, Raffle, Sale, Tithe, Zakaat, Fete, etc. If needed, create new receipt types by clicking the provided link.
- Amount: Enter the donation amount received.
- Receipt Date: Input the date when the donation was received.
- Receipt Method: Select the method of donation (e.g., cash, goods in kind, bank transfer, etc.).
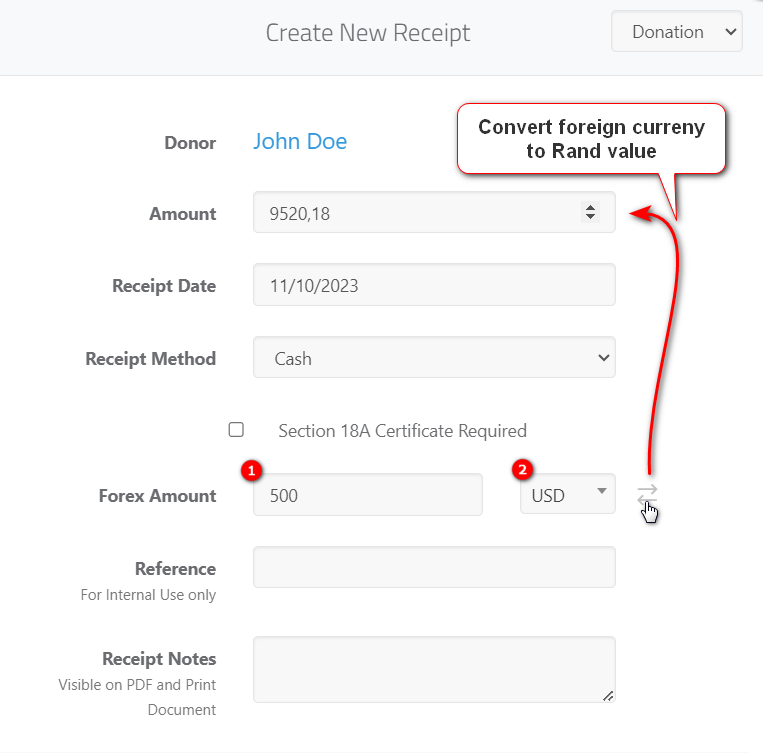
- Forex Amount (if applicable):
- Enter the foreign amount in the provided box.
- Select the foreign currency from the list or type a 3-letter currency code (e.g., USD, EUR, JPY).
- Click the arrow icon to convert the foreign amount into Rand value or enter a custom Rand value as per your statement.
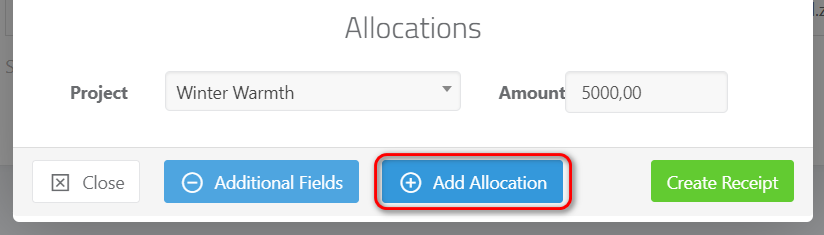
- Project Allocation: Choose the project to which the funds should be allocated.
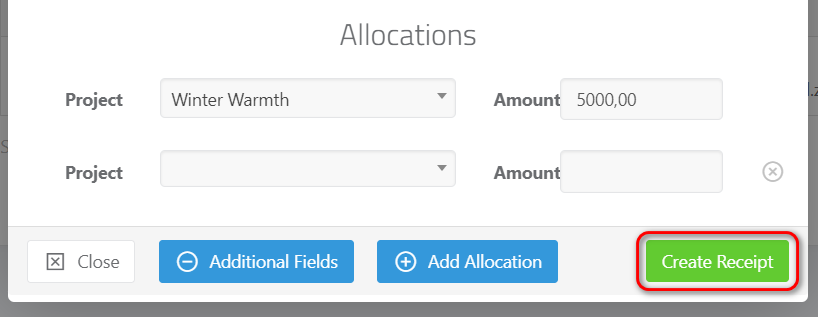
- If the donation is to be split across multiple projects, click Add Allocation to include additional projects.
Generating the Receipt
- Click the Create Receipt button.
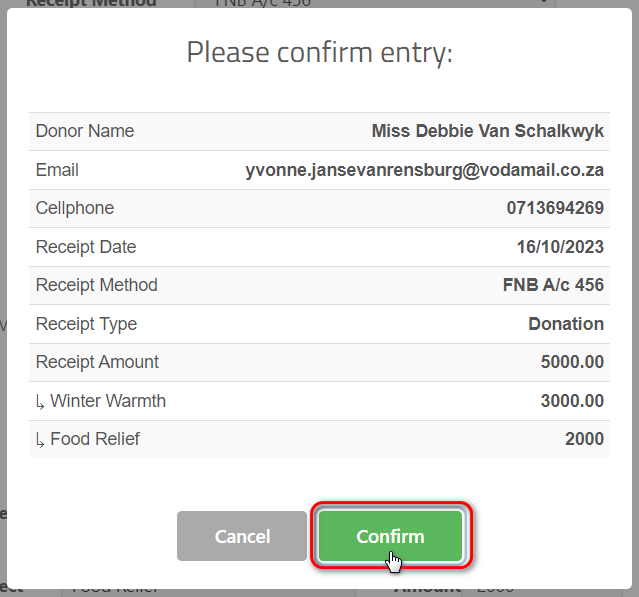
- A confirmation window will appear – review the details and click Confirm to finalize.
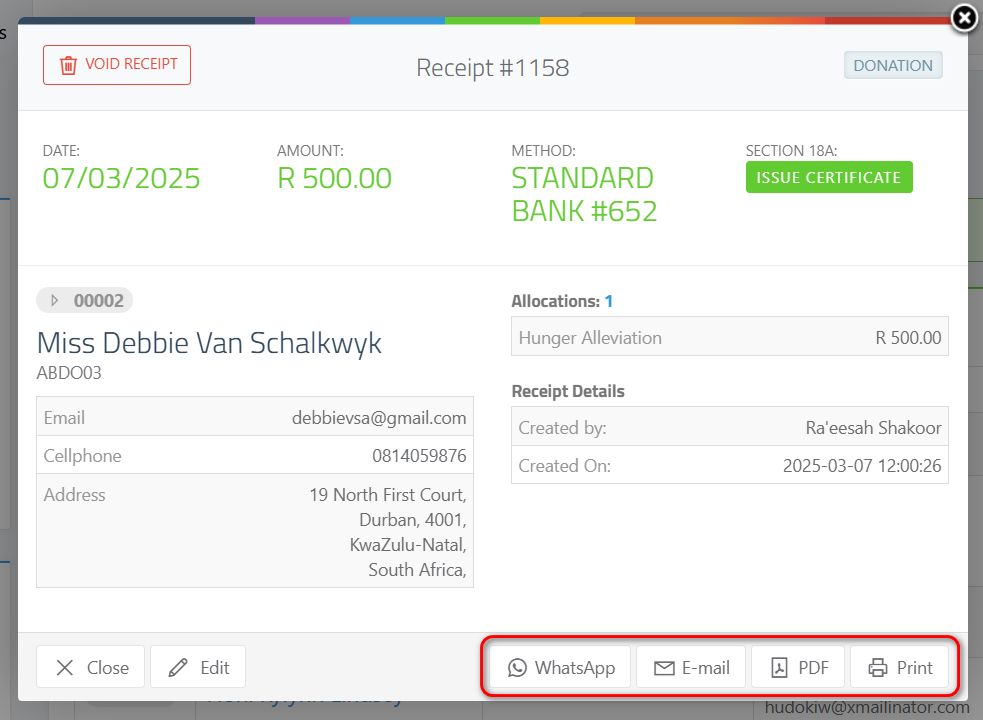
Once the receipt is generated, a pop-up will display the receipt details. You can then:
- WhatsApp the receipt to the donor.
- Email the receipt to the donor.
- Download a PDF of the receipt.
- Print the receipt.