CONTENTS
1. Setting up
First, you need to go to your settings page to set up your “CSV Receipts Uploader”.
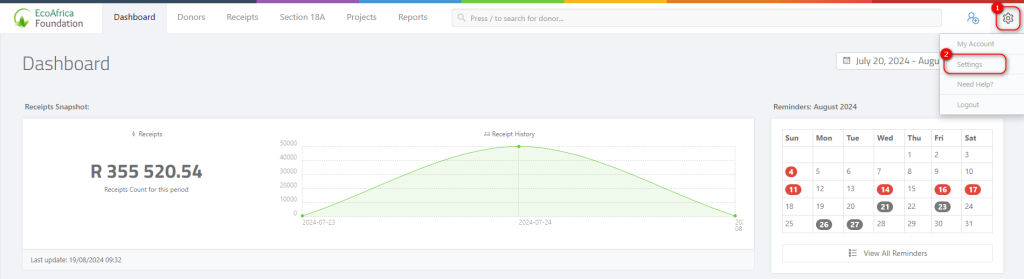
To get to your settings page, click on the settings icon in the top right-hand corner of the page.
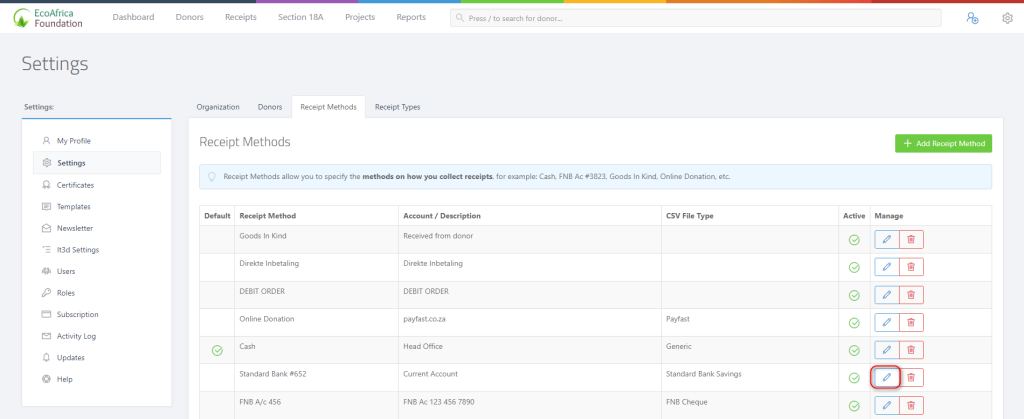
Then click on the “Receipts Method” tab.
Receipt Methods are the methods how you collect receipts. They’re used to select which method your donors prefer to use while making a donation.

To edit your “Receipt Method”, click on the edit pencil icon in the last column.
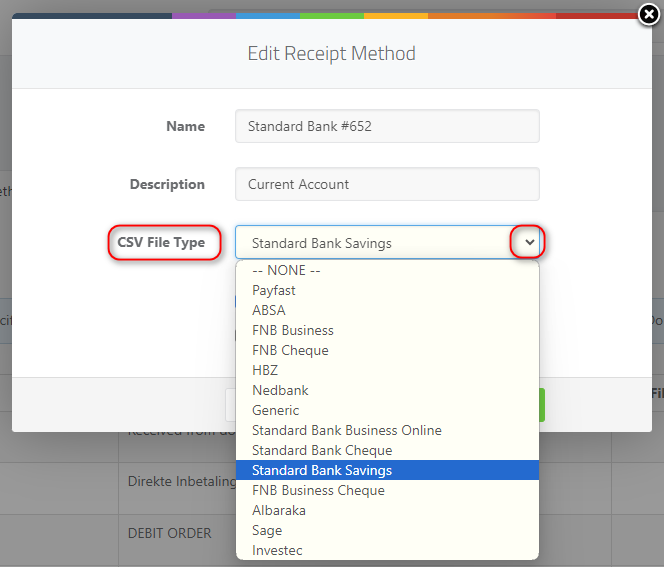
When you clicked on the edit icon the editor block will pop up.
Click on the little arrow in the “CSV File Type” bar to drop down the options you wish to choose for this particular receipt method.
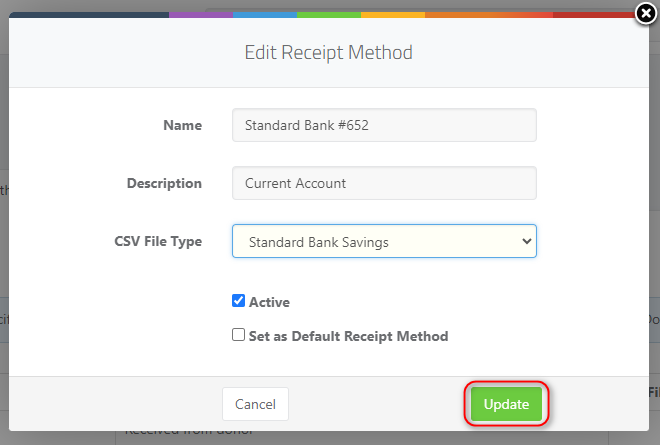
Once you have chosen a CSV file type press on the “Update” button in the bottom right corner to update the receipt method profile.
Once you have finished editing your receipt method’s CSV file types you can now go back to the CSV receipts uploads page and proceed to upload a CSV file.

2. Upload types
The upload types are the type of files that can be uploaded, although most bank statements are accepted not all can be uploaded.
It is important to note that when you’ve set up your CSV file uploader you must take into consideration that the CSV file type that you have chosen in the receipt method setting is the same file format that you upload when you are choosing a file to upload.
For example, you cannot choose an ABSA CSV file type in your settings and then try to upload an FNB Business CSV.
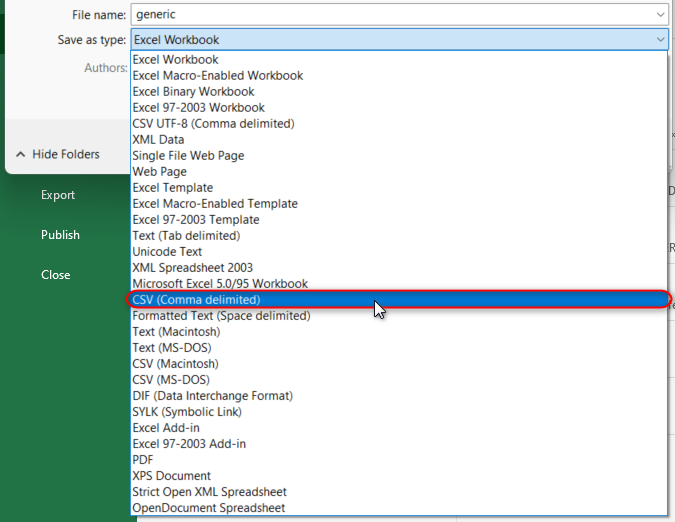
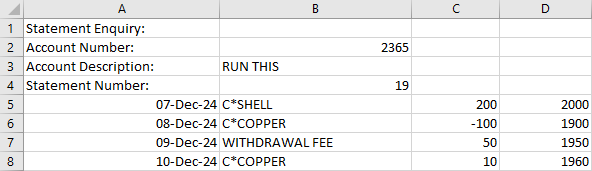
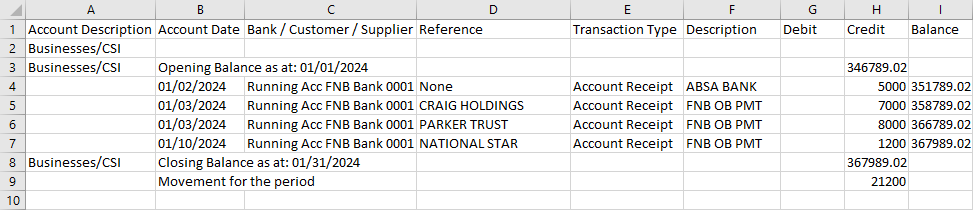
When you are uploading a CSV file you need to make sure that it is saved as a “CSV (Comma delimited)” CSV file, for example, like the one you see highlighted down below.
Make sure that the file/statement is in the correct format that is in line with the CSV file type. Below are some examples of statements that are accepted:
Payfast

ABSA

Standard Bank Savings

Standard Bank Cheque

Standard Bank Business Online

FNB Business
FNB Cheque

HBZ
Albaraka

Nedbank
Sage Accounting
Paysoft Impact

Generic
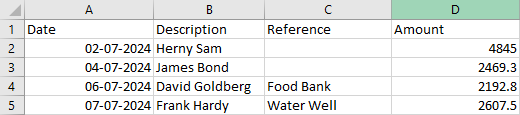
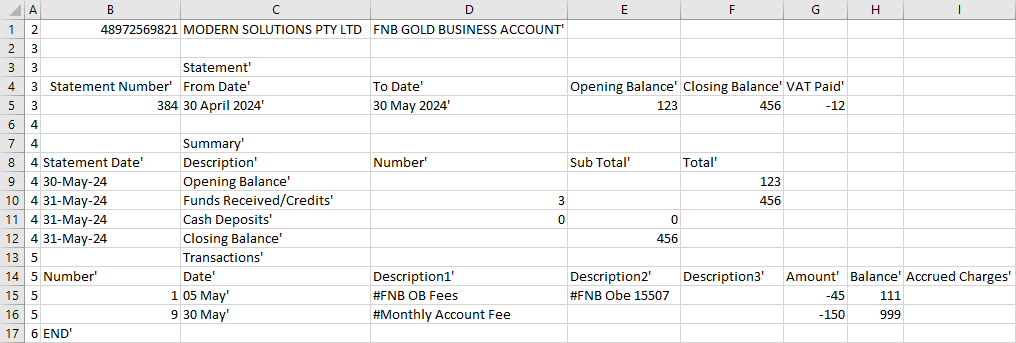
The generic receipt CSV file format is as follows:
- Column 1: Date (dd-mm-yyyy)
- Column 2: Description (Donor Name)
- Column 3: Reference (Payment reference) optional
- Column 4: Amount (Donation amount)
- Column 5: Project (Project donated to)
This file type is different from a bank statement. It’s usually a CSV file downloaded from other apps such as Sage or Pastel.
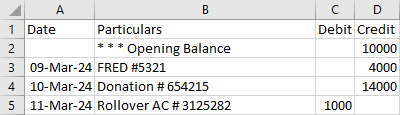
Alternatively, you can manually enter your information in this format as long as all relevant columns are included and the file is saved as a CSV.
Xero
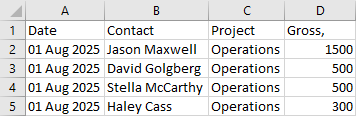
In Xero:
- Go to Reports and create a Custom Report.
- Select Account Transactions Report.
- Choose all the accounts that relate to Grants and Donations.
- Set the Date Range for the period you want to export.
- Add the following columns: date, contact, project, gross
- Re-order the columns to: date, contact, project, gross
- Save this setup as a Custom Report for future use.
Exporting the File:
- Export the report as an Excel file.
- Open the file in Excel.
- Convert and save the file as a CSV format file.
3. Uploading your CSV receipts
Once you have finished setting up your CSV receipt uploader you can now return to the page on how to use it