ACTIVEDONORACTIVEDONOR
  • ActiveDonor
  • Sign Up
  • Contact Us
  • ActiveDonor
  • Sign Up
  • Contact Us
home/Knowledge Base/Settings/Setting up Newsletter Syncing

Setting up Newsletter Syncing

69 views 2

To set up Newsletter Syncing you will need a Mailchimp account. You can sign up for a free Mailchimp account with the link below.

  1. Set up your Mailchimp account
  2. Sync your ActiveDonor database with Mailchimp
  3. Getting your API Key
  4. Getting your Audience ID & Audience Name

1. Set up your Mailchimp account

Clink here to set up your Mailchimp account.

Click here for a step-by-step guide on how to create a Mailchimp account.

2. Sync your ActiveDonor database with Mailchimp

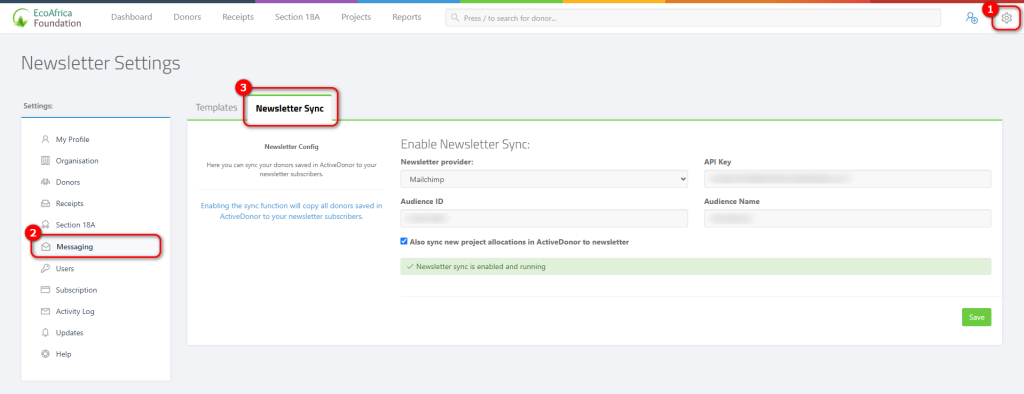
Click on “Settings” in the top right corner.

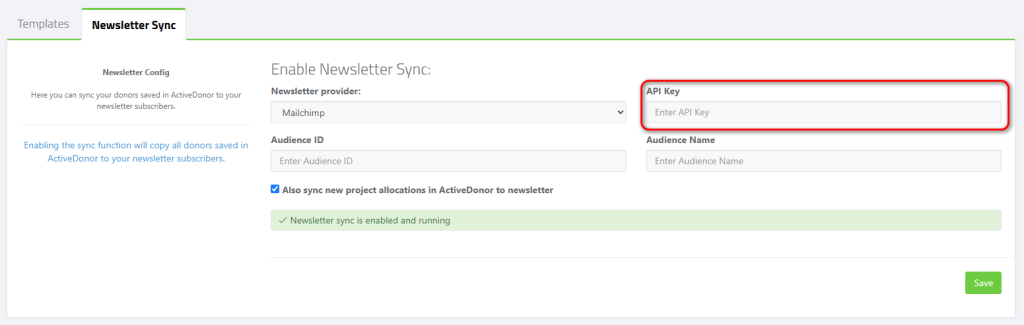
In your settings section go to “Messaging” and select the “Newsletter Sync” tab.

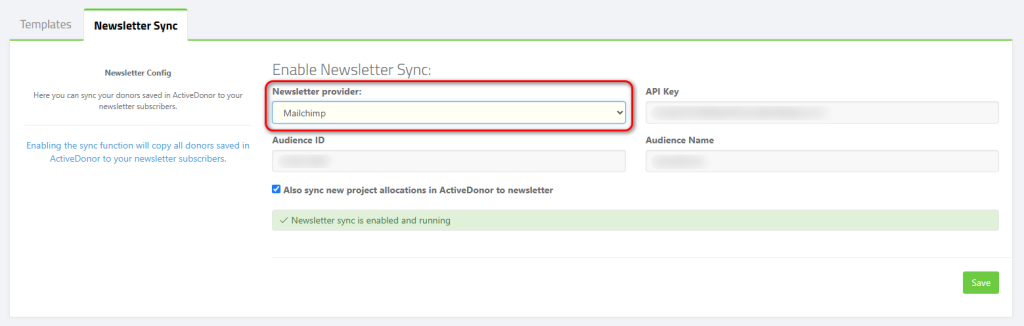
Click on “Newsletter provider” and select “Mailchimp”

3. Getting your API Key

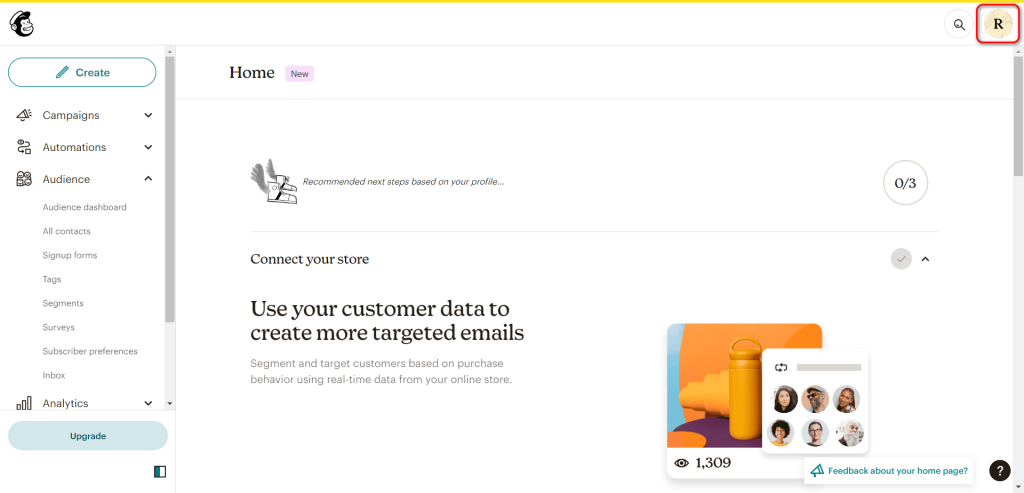
To get your API Key you need to go to your Mailchimp account.

Click on your profile icon in the top right corner.

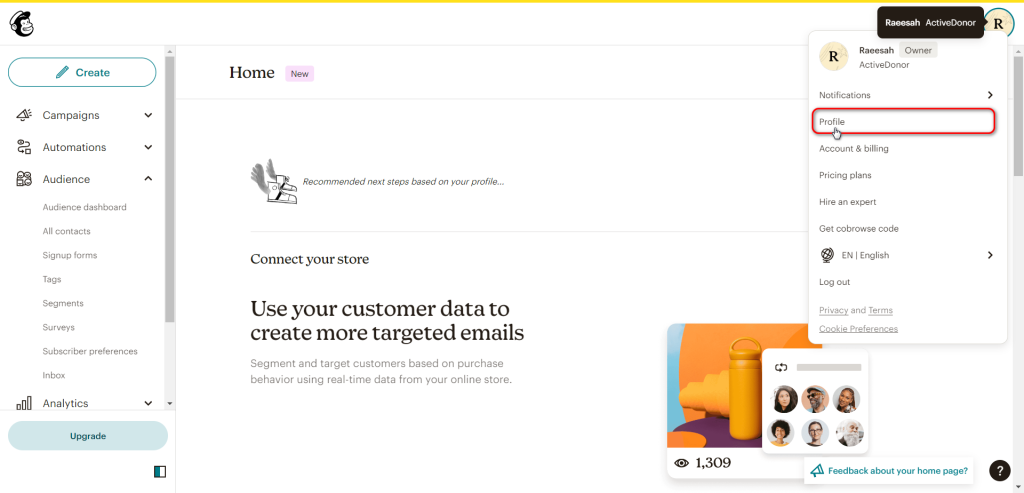
In the menu click on “Profile”

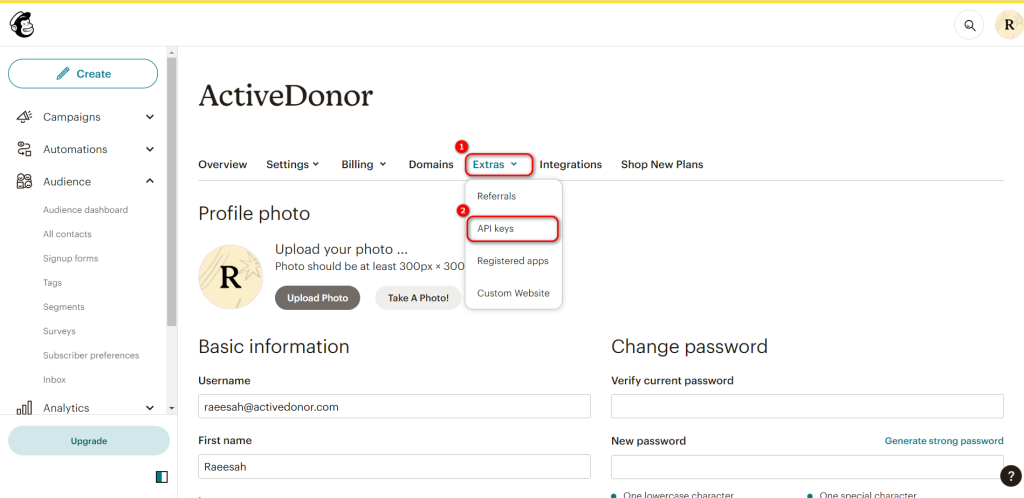
Once you are in your profile click on “Extras”

Next click on “API Keys”

Once you are on the API Key page click on “Create a Key”

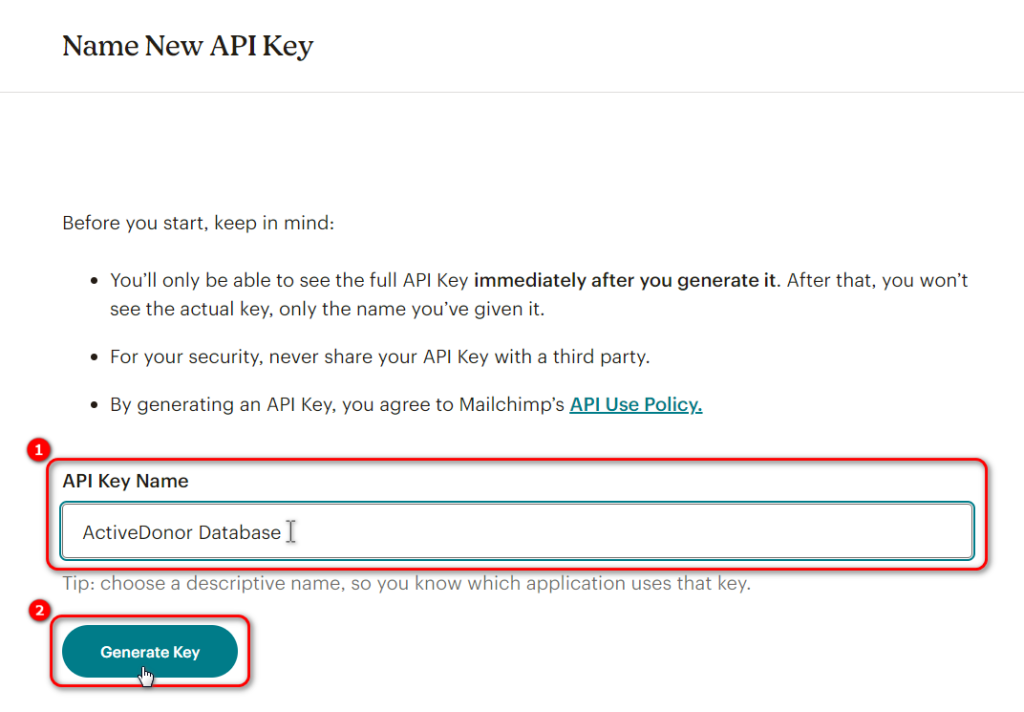
Fill in a name for your API Key.

Then click on “Generate Key”

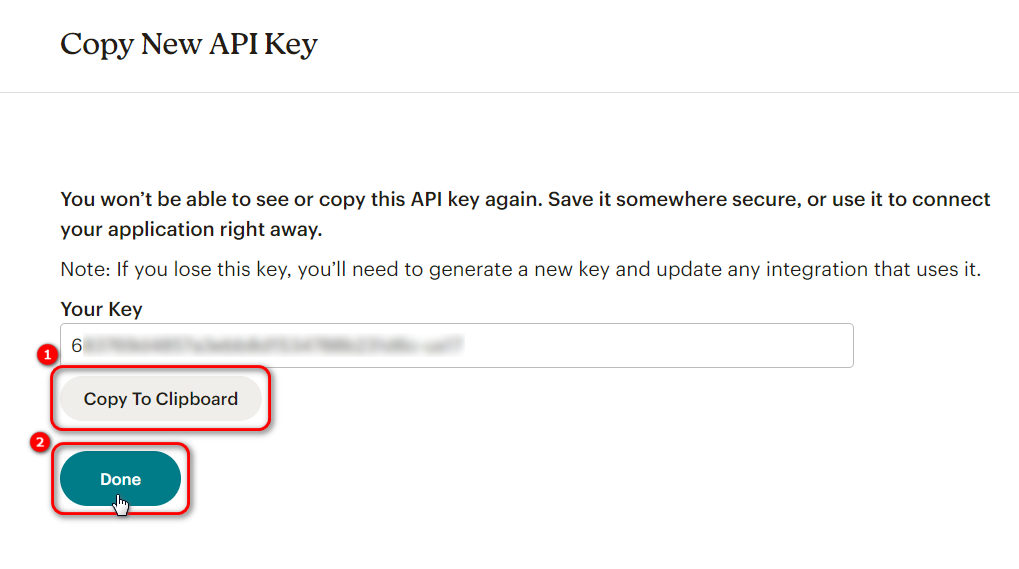
You will now see your API Key.

Click on “Copy to Clipboard”

Then click “Done”

You can now head to your ActiveDonor profile and paste your API Key.

4. Getting your Audience ID & Audience Name

Head to your Mailchimp account to get your Audience ID.

Click on the “Audience” tab on the left.

Then click on “All contacts”

Once you are on your contacts page click on “Settings”

Then click on “Audience name and defaults”

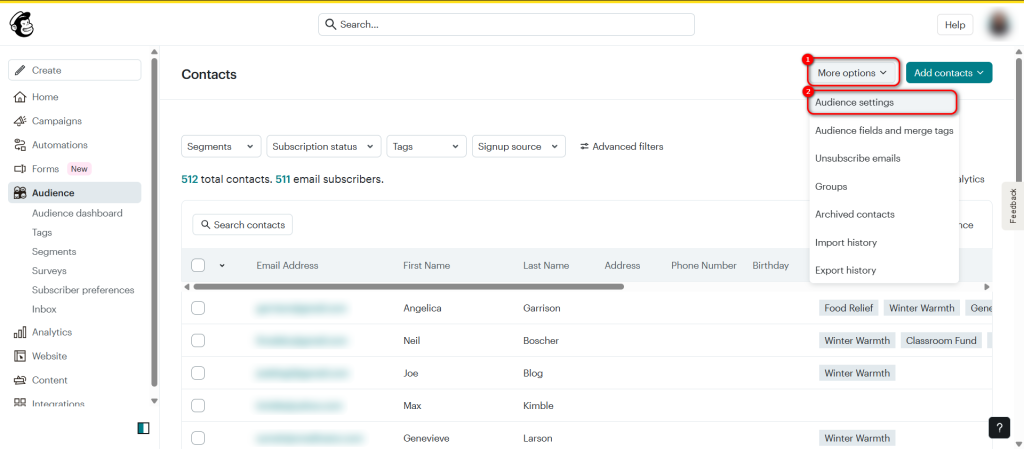
Here you will find your Audience ID & Audience Name

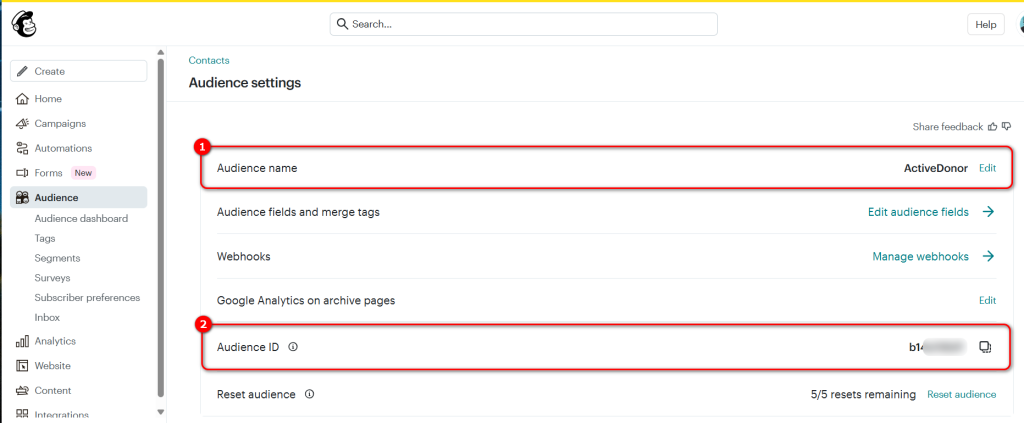
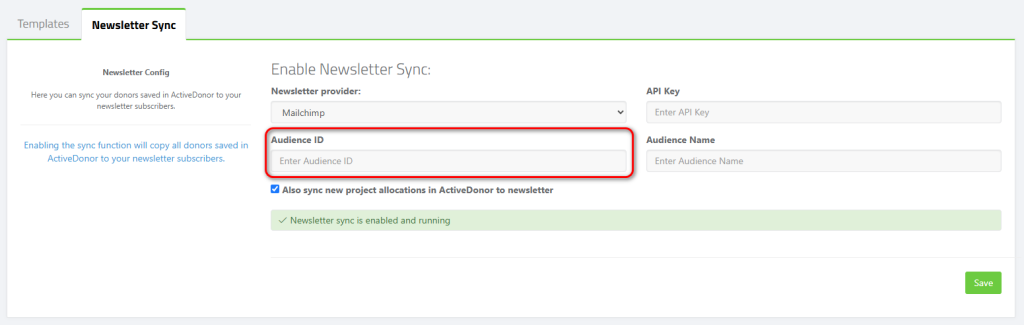
Select and copy your Audience ID (Labelled 2).

You can now head back to your ActiveDonor Profile and paste your Audience ID code.

Then head back to your Mailchimp account to get your Audience Name.

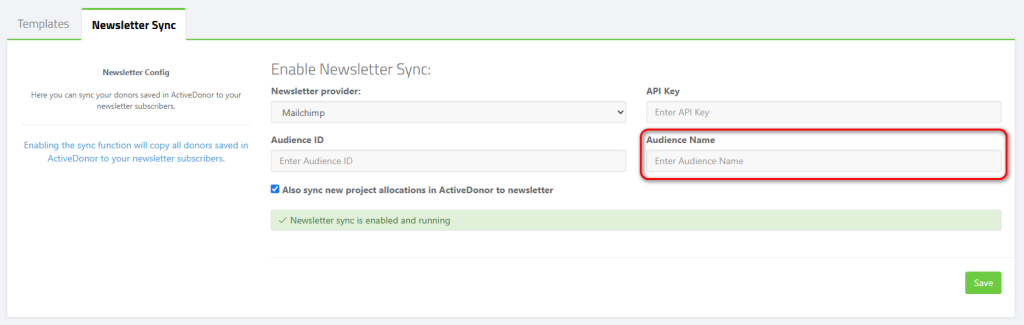
Select and copy your Audience Name (Labelled 1).

You can now head back to your ActiveDonor Profile and paste your Audience Name.

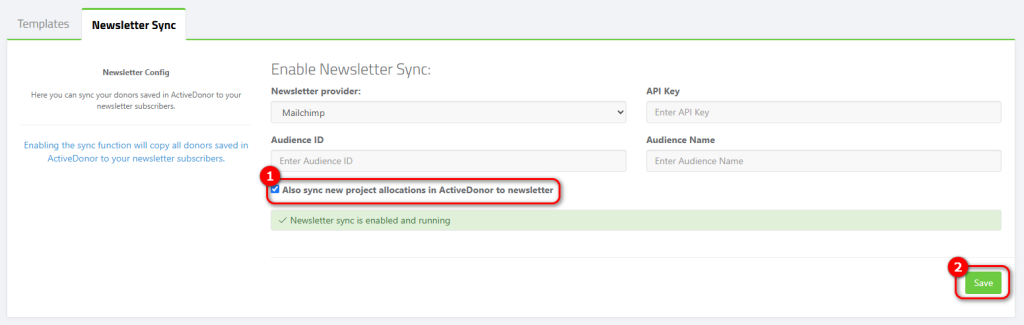
Once you are done pasting all of your information in, make sure to click “Also sync new project allocations in ActiveDonor to newsletter.”

Then click “Save”

Allow the system 24 hours to sync your donors and you’re all set!

Was this helpful?

2 Yes  No
Related Articles
  • Filling in IT3D Settings for Section 18A Submissions
  • Viewing the Activity Log
  • Uploading an electronic signature for Section 18A Certificate
  • Reset Your Password
  • Managing Receipt Methods
  • Managing Your Message Templates

Didn't find your answer? Contact Us

Settings
  • Setting up Newsletter Syncing
  • Filling in IT3D Settings for Section 18A Submissions
  • Viewing the Activity Log
  • Uploading an electronic signature for Section 18A Certificate
  • Reset Your Password
  • Managing Receipt Methods
View All 12  
KB Categories
  • Donors
  • Mobile App
  • Projects
  • Receipting
  • Reminders
  • Reports
  • Section 18A Certificates
  • Settings
  • Subscription
  • Users
Settings
  • Setting up Newsletter Syncing
  • Creating a new user
  • Adding a Fundraiser
  • Assigning Roles and Permissions
  • Customising the text and layout on a Section 18A Tax Certificate
  • Managing Receipt Methods
  • Managing Your Message Templates
  • Setting your organisation settings (logo etc.)
  • Managing Donor Categories (Tags)
  • Reset Your Password
  • Viewing the Activity Log
  • Uploading an electronic signature for Section 18A Certificate
  • Filling in IT3D Settings for Section 18A Submissions
All Categories
  • Donors
  • Mobile App
  • Projects
  • Receipting
  • Reminders
  • Reports
  • Section 18A Certificates
  • Settings
  • Subscription
  • Users

  Uploading an electronic signature for Section 18A Certificate

Filling in IT3D Settings for Section 18A Submissions  

  • Privacy Policy
  • Terms of Use
  • Copyright 2023 ActiveDonor.com. All Rights Reserved.