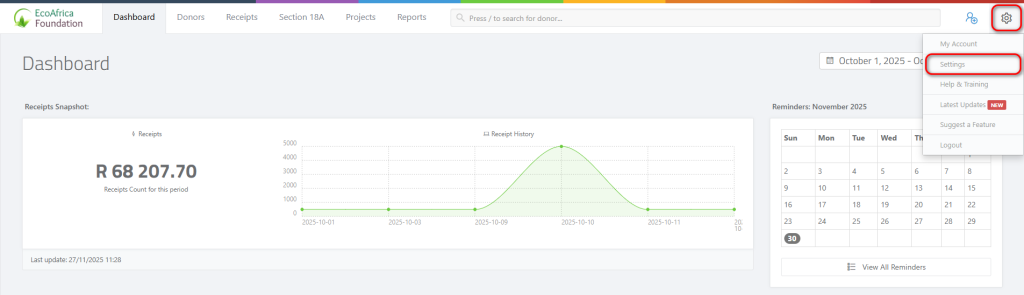
Click on the settings icon in the main menu bar. Go to settings in the drop down menu.
Select certificates from theleft menu.
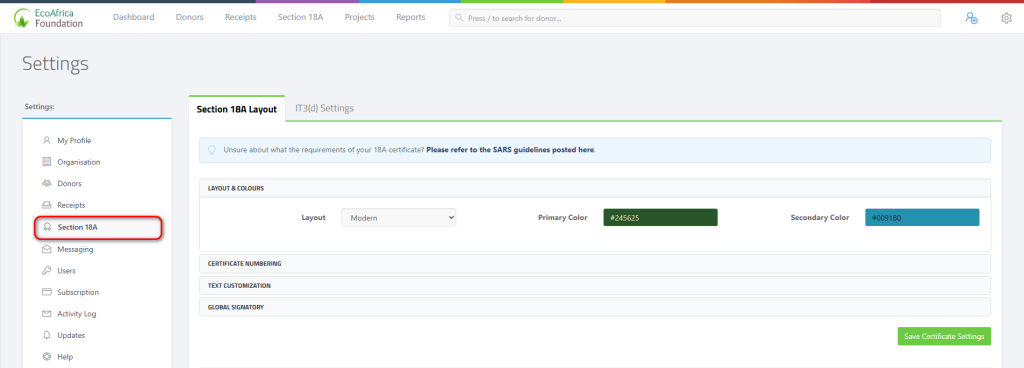
Layouts & Colours:
Here you can select a certificate template, as well as a primary and secondary colour for your tax certificate.

Certificate Numbering:
Here you can specify the last Section 18A that you may have issued, so that ActiveDonor will ensure continuity from the prior sequence.
The prefix and suffix values are optional – these can be any number or text you wish to include before or after your certificate.

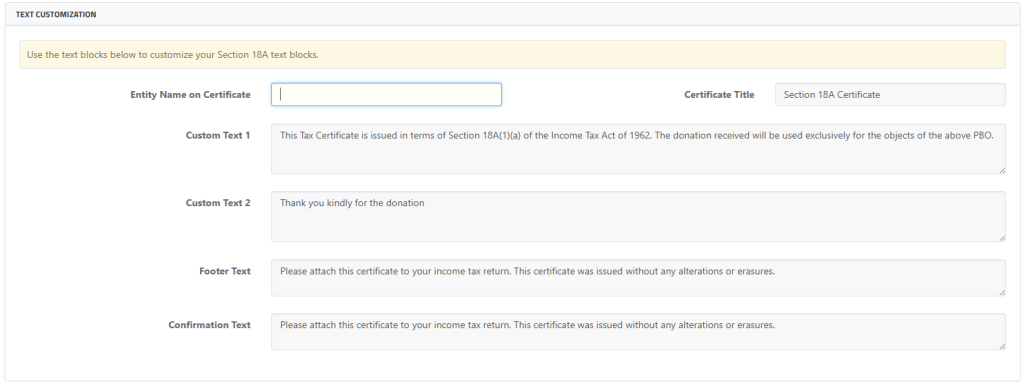
Text Customization:
Use the text blocks to edit the static text that appears on your tax certificate.
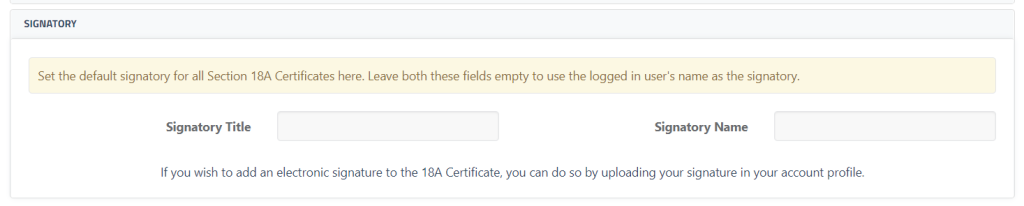
Signatory:
If your tax certificate only has one signatory, you may add a role and their name here. If you have multiple signatories, leave these fields blank so that it uses the logged-in users’ names and roles for the signature block.
Click “Save certificate settings” after changes have been made.