Uploading and managing attachments
In short: Open the donor, receipt, Section 18A certificate or project you want to attach a file to, find the "Drop file or Browse" drop zone, and drag a file in or click Browse. The file uploads automatically — there is no separate "documents" area and no Save button. Allowed types only, max 5 MB per file, counting towards your plan's storage allowance.
Overview
ActiveDonor lets you attach files — proof of payment, invoices, deposit slips, correspondence, supporting documents and more — directly to a donor, a receipt, a Section 18A certificate or a project. Each attachment is stored securely against that record, can be downloaded again at any time, and can be deleted. There is no separate "documents" area: documents are stored on the record they relate to.
Before you start
You'll need:
- To be signed in to your charity's ActiveDonor account.
- The record you want to attach a file to open in front of you (a donor, receipt, certificate or project detail page).
- Free space in your plan's storage allowance. Attachments count towards it; when storage is full the upload area is replaced by an Upgrade Now prompt (see "Size and storage limits" below).
Where attachments appear
The upload-and-list area looks slightly different depending on the record you are viewing, but it always works the same way: existing files are listed, and a drop zone labelled "Drop file or Browse" lets you add a new one.
| Record | Where to find it | Section heading |
|---|---|---|
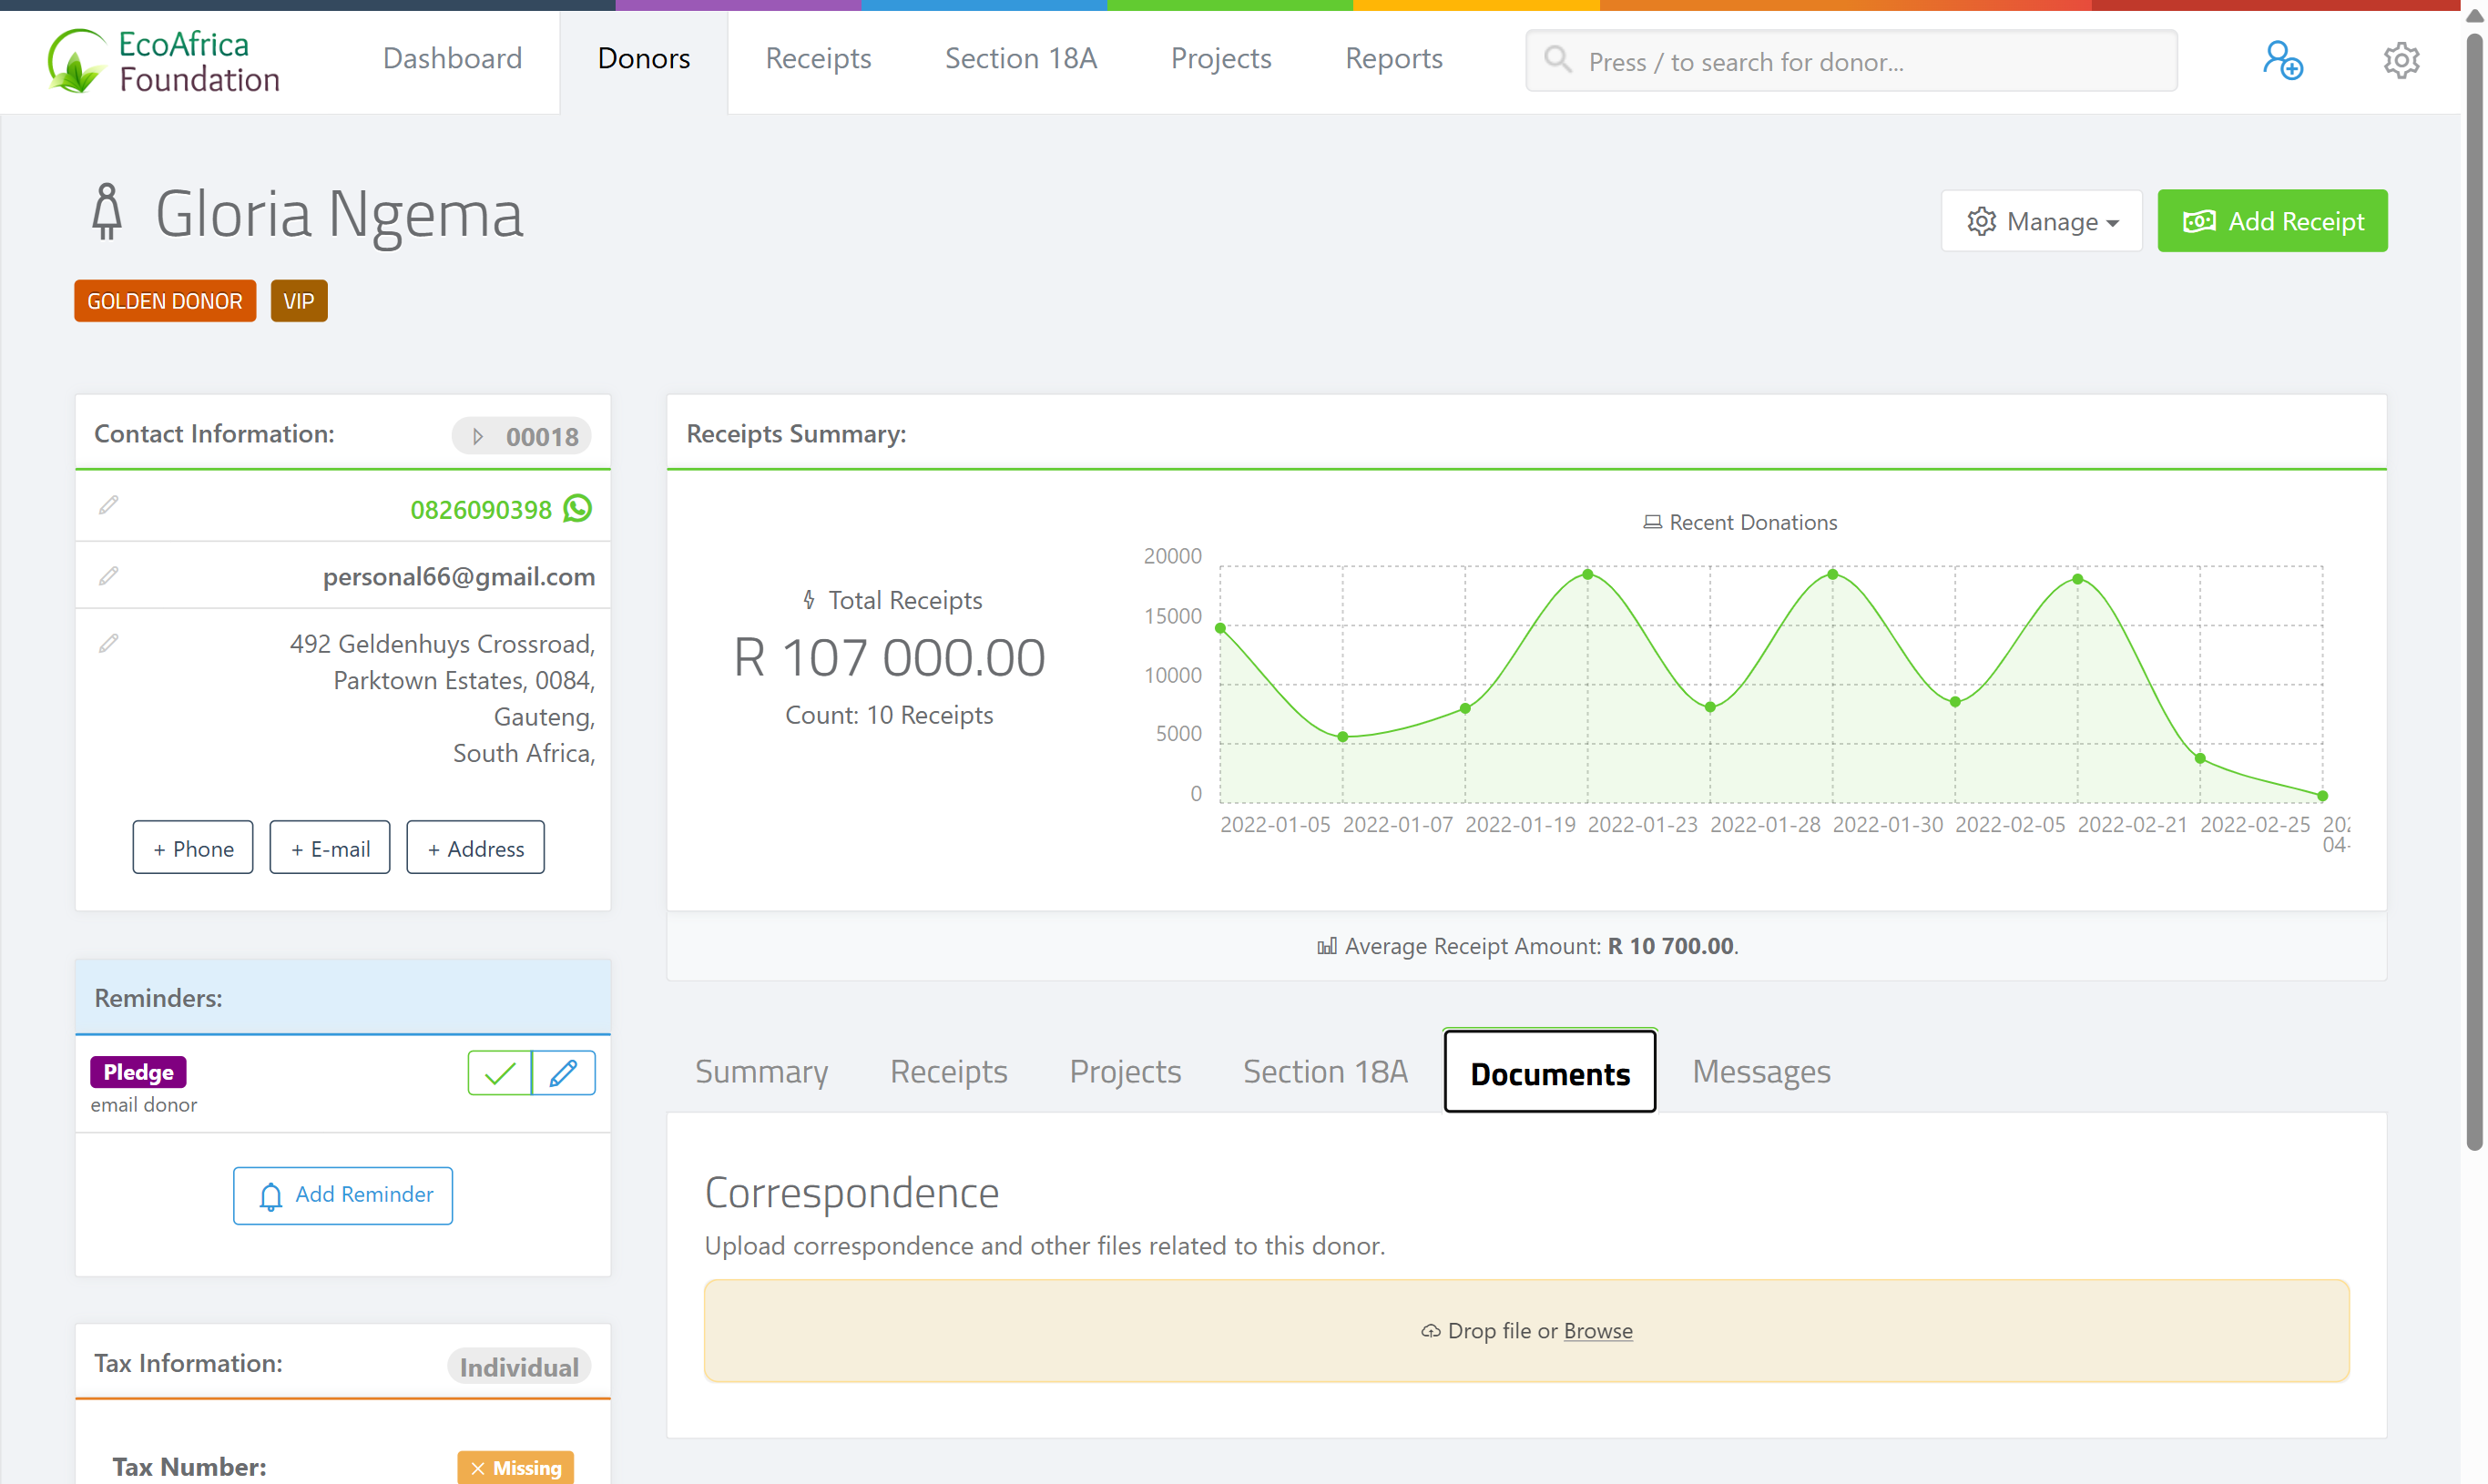
| Donor | Open the donor, then click the Documents tab. | "Correspondence" — "Upload correspondence and other files related to this donor." (Files are shown as a grid of tiles.) |
| Receipt | Open the receipt. In the receipt's footer, click the Files button (paperclip icon). A collapsible attachments panel slides open. | The Files button shows a count badge when attachments exist. |
| Section 18A certificate | Open the certificate. | "Supporting Documents" — "Upload proof of payment, invoices, deposit slips or goods in kind documents." |
| Project | Open the project. | "Attachments" — "Upload project-related documents." |
On the donor's Documents tab, files uploaded against that donor's Section 18A certificates are also listed separately under a "Certificate Documents" heading, so you can see all related paperwork in one place.
Uploading a file
Step 1: Open the record's attachments area
Open the record (donor, receipt, certificate or project) and go to its attachments area as set out in the table above — the Documents tab for a donor, the Files button for a receipt, or the relevant section on a certificate or project.
Step 2: Find the drop zone
Find the drop zone that reads "Drop file or Browse" (a cloud-upload icon).
Step 3: Add the file
Either drag a file from your computer onto the drop zone, or click Browse and pick a file.
Step 4: Wait for it to finish
The file uploads automatically — there is no separate "Save" button. When it finishes, the file appears in the list above the drop zone, showing its name, size and the upload date (for example, "245 KB · 3 Jun 2026"). To add another file, repeat — you can upload files one at a time.
Downloading a file
Step 1: Open the record's attachments area
Go to the record's attachments area (as in the table above).
Step 2: Click the file
Click the file in the list (the whole row/tile is clickable), or click the file name link. The file downloads to your computer.
📌 Note: Download links are time-limited secure links that expire 30 minutes after the page is loaded. If a download fails, simply reload the page and try again.
Deleting a file
Step 1: Open the record's attachments area
Go to the record's attachments area.
Step 2: Click the delete icon
Hover over the file and click the × (delete) icon on the right of the row.
Step 3: Confirm
A confirmation dialog headed "Delete attachment?" shows the file name. Click Delete to confirm, or Cancel to keep the file. The file is removed from the list and the attachment count badge updates.
⚠️ Important: Deletion is immediate and cannot be undone. The underlying file is only removed from storage once no other record still references it.
Allowed file types
Only the following file types may be uploaded. The file's extension must be one of these (the check is case-insensitive):
| Type | Extensions |
|---|---|
| PDF document | .pdf |
| Word document | .doc, .docx |
| Excel spreadsheet | .xls, .xlsx |
| CSV file | .csv |
| Plain text | .txt |
| Image | .jpg, .jpeg, .png |
If you try to upload any other file type, the upload is rejected with the message: "File type not allowed. Allowed: pdf, doc, docx, xls, xlsx, csv, txt, jpg, jpeg, png".
Size and storage limits
- Per-file limit: 5 MB. A single file may not exceed 5 MB. A larger file is rejected with the message "File too large".
- One file at a time. The uploader accepts a single file per upload.
- Plan storage allowance. All your attachments together count towards your subscription's total storage limit. When the limit is reached, the upload drop zone is replaced by a warning that reads "Your plan includes [limit] of storage and you've used [amount]", with the message "Please upgrade your account to continue uploading files" and an Upgrade Now button that opens the subscription page. If an upload would push you over the limit, it is rejected with: "Storage limit reached. Your plan includes [limit] of storage. Please upgrade to continue uploading files."
💡 Tip: Storage usage is measured per unique file — if the same stored file is referenced by more than one record, it is only counted once.
What this does not do
- There is no central "documents" or "files" library — attachments live on the donor, receipt, certificate or project they belong to.
- It does not accept arbitrary file types — only PDF, Word, Excel, CSV, text and JPG/PNG images.
- It does not allow multi-file (bulk) upload — files are added one at a time.
- It does not keep deleted files — deletion is immediate and cannot be undone.
Field reference
Each stored attachment records:
| Field | Meaning |
|---|---|
| File name | The original name of the file you uploaded. |
| File size | Shown in KB (under 1 MB) or MB. |
| Uploaded date | The date the file was attached (e.g. "3 Jun 2026"). |
| Uploaded by | The user who uploaded the file (kept for your records). |
| Type icon | A colour-coded icon indicating PDF, Word, Excel, CSV, text or image. |
Common issues & solutions
| What you see | What it means | How to fix it |
|---|---|---|
| "File type not allowed. Allowed: pdf, doc, docx, xls, xlsx, csv, txt, jpg, jpeg, png" | The file's extension isn't in the allowed list. | Convert or re-save the file as a PDF, Office document (doc/docx/xls/xlsx), CSV, text file or image (JPG/PNG), then upload again. |
| "File too large" | The file is over the 5 MB per-file limit. | Compress it or split it so each file is 5 MB or under. |
| "Storage limit reached. Your plan includes [limit] of storage. Please upgrade to continue uploading files." | Your plan's total storage allowance is full. | Delete attachments you no longer need, or upgrade your subscription via the Upgrade Now button (it opens the subscription page). See Your subscription and plan. |
| The upload area is replaced by an Upgrade Now prompt reading "Your plan includes [limit] of storage and you've used [amount]". | You have already used your full storage allowance, so new uploads are blocked. | Free up space by deleting old attachments, or upgrade your plan. |
| A download link doesn't work or the file won't open. | Secure download links expire 30 minutes after the page loads. | Reload the record's page and click the file again to get a fresh link. |
FAQ
Where do I store documents in ActiveDonor? On the record they relate to. Open the donor, receipt, Section 18A certificate or project, find the "Drop file or Browse" drop zone, and add the file. There is no separate documents area.
How do I upload an attachment to a donor? Open the donor, click the Documents tab, and drag your file onto the "Drop file or Browse" drop zone (or click Browse). It uploads automatically.
How do I attach a proof of payment to a receipt? Open the receipt and click the Files button (paperclip icon) in the footer. The attachments panel slides open with the "Drop file or Browse" drop zone.
What file types can I upload? PDF, Word (.doc/.docx), Excel (.xls/.xlsx), CSV, plain text (.txt) and images (.jpg/.jpeg/.png). Anything else is rejected.
What's the maximum file size? 5 MB per file. Larger files are rejected with "File too large".
Can I upload several files at once? No — upload one file at a time, repeating for each.
Can I get a deleted attachment back? No. Deletion is immediate and cannot be undone, so download a copy first if you might need it.
My download link stopped working — why? Secure download links expire 30 minutes after the page loads. Reload the page and click the file again.
Related
- Editing a donor's details
- Adding notes and comments to a donor
- Creating a receipt
- Printing, downloading and emailing a receipt
- Uploading your own certificate PDF
- Managing projects
- Your subscription and plan
Need a hand?
If a file won't upload and it's within the allowed types and the 5 MB limit, check your storage allowance on Your subscription and plan. If it still fails, contact ActiveDonor support with the file name and the record you're attaching it to.