Certificate settings
In short: Under Settings → Section 18A Layout, set the certificate template and colours, the numbering (last number + optional prefix/suffix), the wording, and the default signature. Settings apply to certificates issued afterwards — refresh an existing certificate to pick up changes.
Overview
Certificate settings control how every Section 18A certificate looks and what it says — the template and colours, the numbering, the wording, and the default signature. You set these once and they apply to all certificates you issue afterwards. The settings live under the Section 18A Layout tab. (The second tab, IT3(d) Settings, covers SARS submission — see IT3(d) settings: Submitting Entity vs Reporting Entity.)
Before you start
- You need the Manage Settings permission.
- Setting these correctly before you issue real certificates saves having to refresh them all later. Use the certificate preview to check how a certificate will look as you change settings.
📌 Note: Changing settings doesn't change certificates that are already generated. To apply new settings to an existing certificate, refresh it — see Refreshing a certificate and removing SAMPLE text.
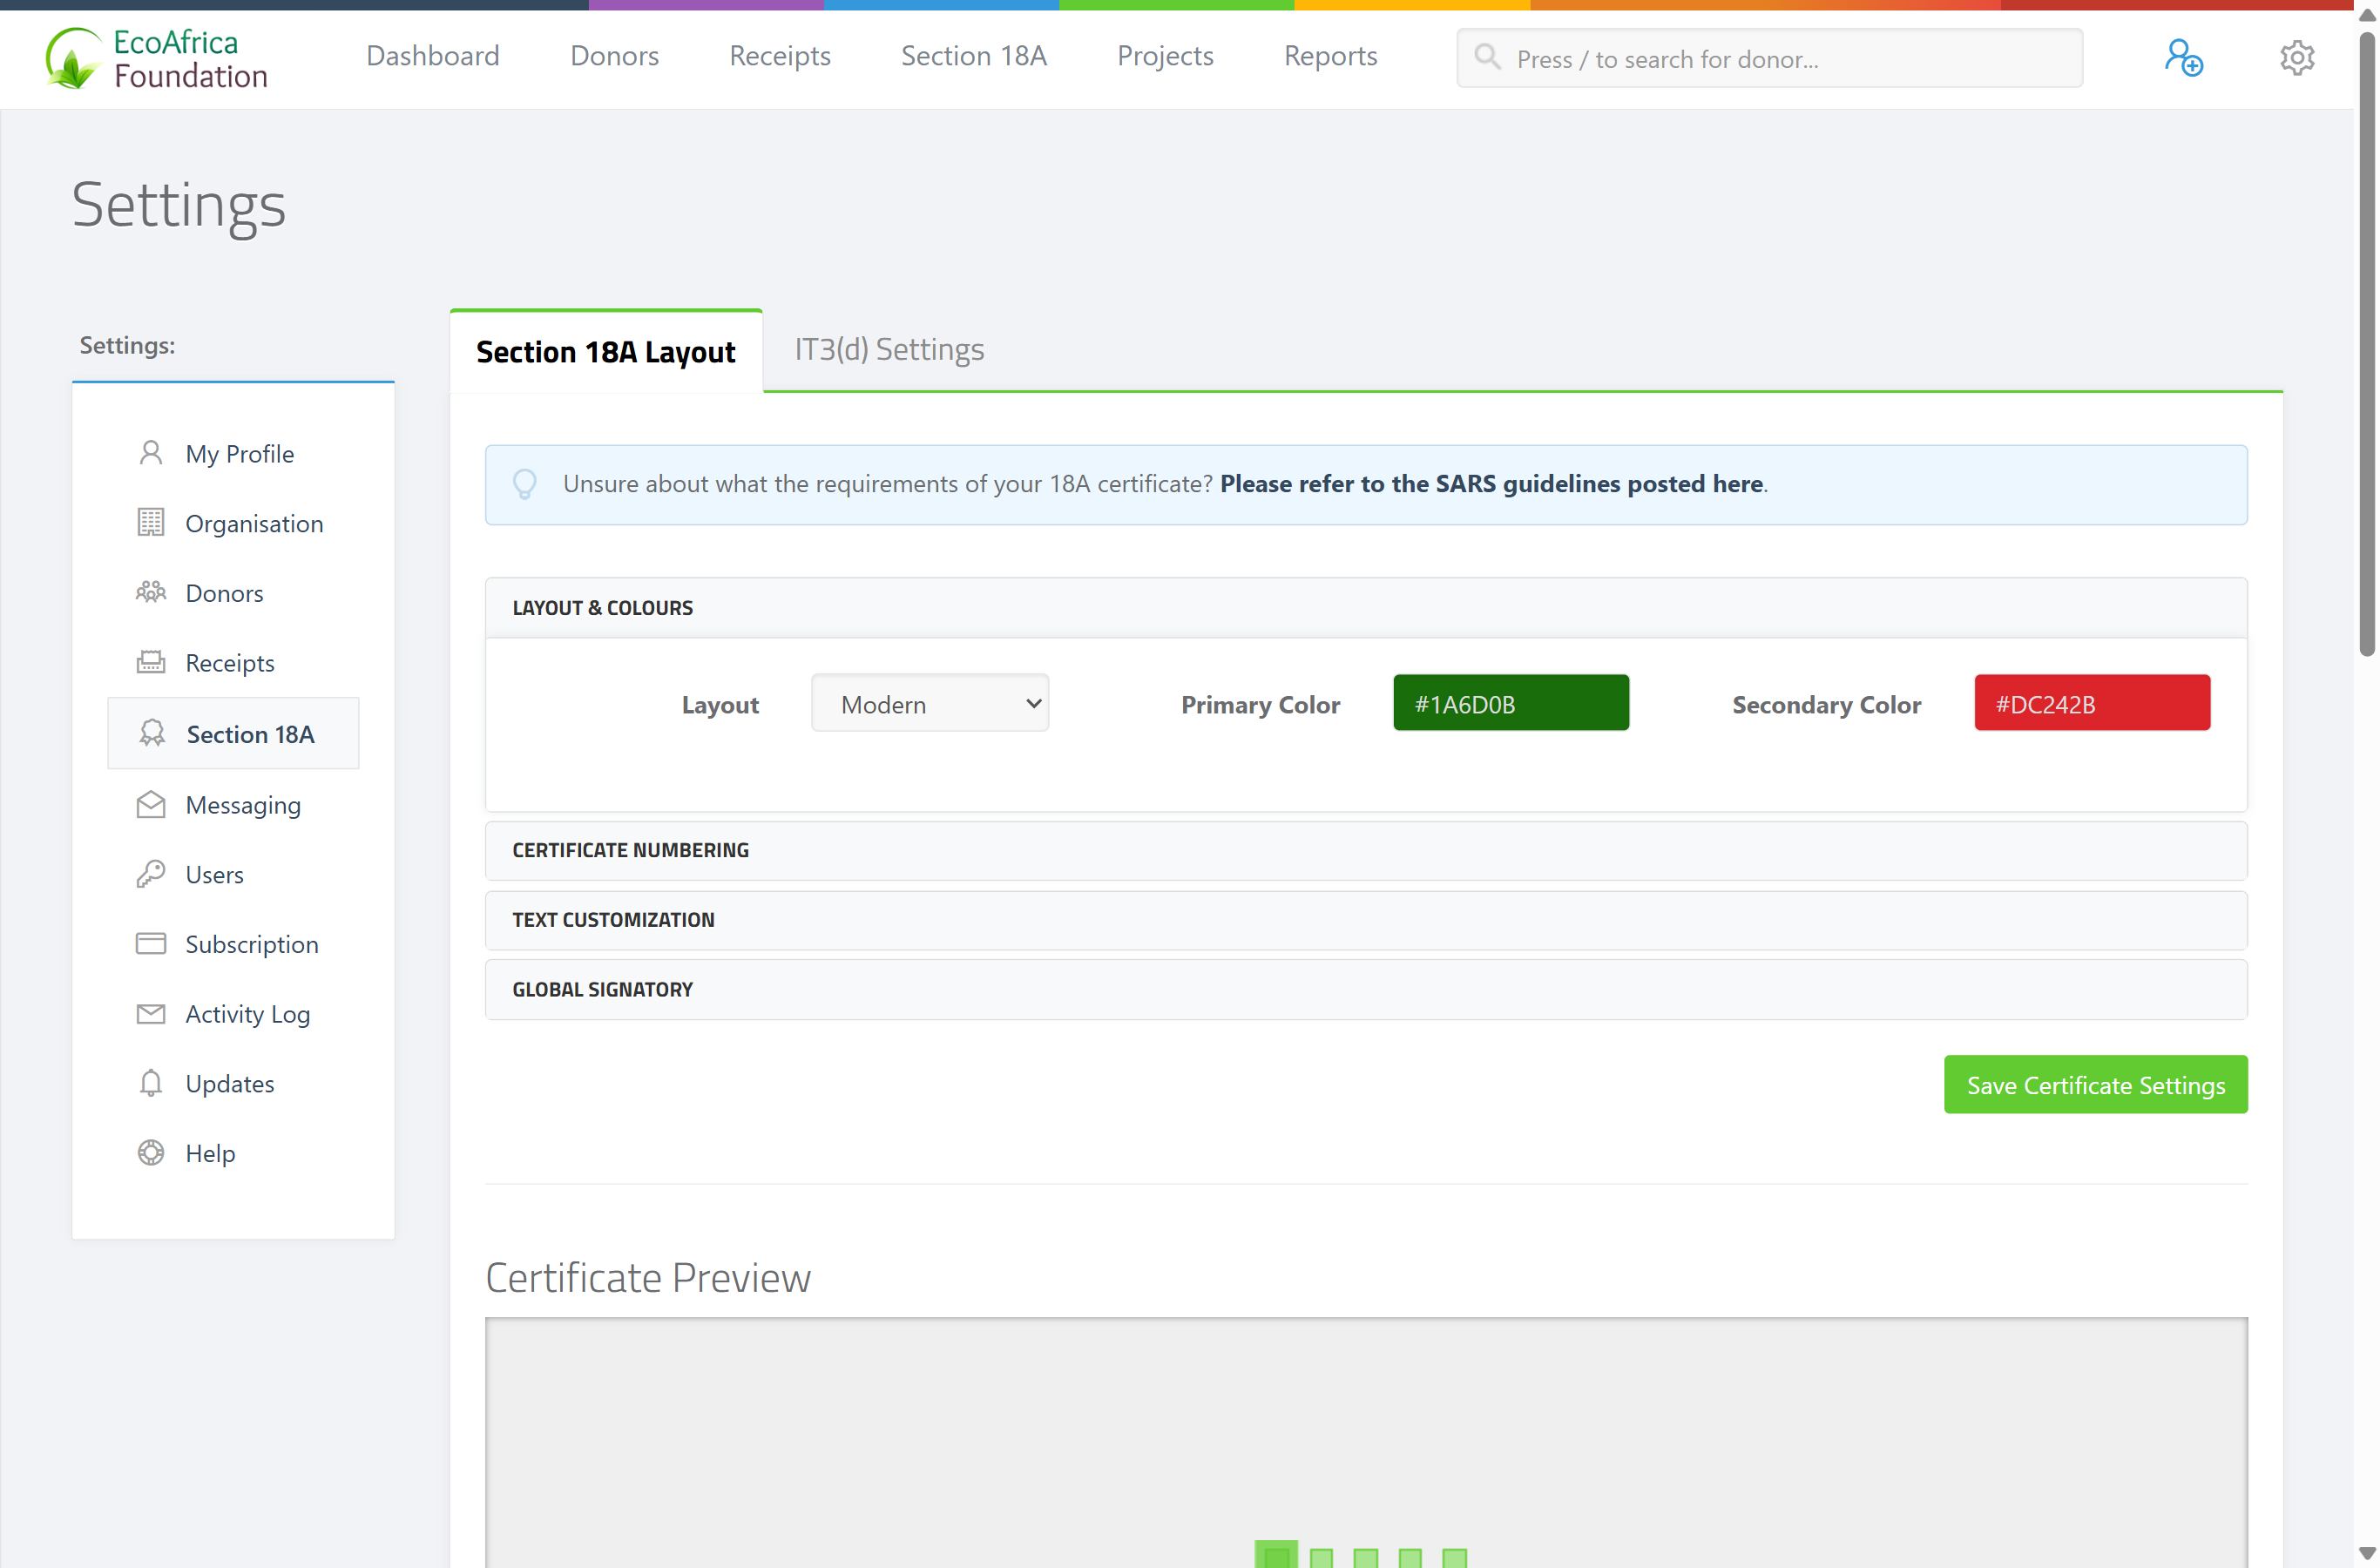
Layout & Colours
- Layout — the certificate template to use. The list is built from the available templates; one option is no-signature (a template with a blank signature area for signing by hand).
- Primary Color and Secondary Color — the colours used in the certificate design.
Certificate Numbering
ActiveDonor numbers certificates automatically and increments the number for each new one. The full certificate number is prefix + number + suffix (for example PBO-00123-A).
- Last Certificate No. — the current/last number used. The system increments this for the next certificate it generates. Set it to control where numbering starts (for example to continue from your previous system).
- Certificate No. Prefix — an optional code placed before the number (up to 8 characters).
- Certificate No. Suffix — an optional code placed after the number (up to 8 characters).
The screen explains: "Here you can set the current / last Section 18A Certificate number. The system will then increment this value and use it for the next certificate it generates. Use an optional prefix or suffix to add a code before or after your 18A number."
Text Customization
These text blocks control the wording printed on the certificate:
- Entity Name on Certificate — your organisation's name as it should appear (up to 120 characters).
- Certificate Title — the heading on the certificate (required, up to 100 characters).
- Custom Text 1 — a custom text block (up to 400 characters).
- Custom Text 2 — a second custom text block (up to 400 characters).
- Footer Text — text printed in the footer (up to 400 characters).
- Confirmation Text — the confirmation/declaration wording (up to 300 characters).
Global Signatory
Set a default signature that prints on all certificates:
- Signatory Title and Signatory Name — what appears under the signature.
- Signature image upload — for best results, 650 x 250px.
- "Automatically sign all Section 18A certificates with the uploaded signature?" — tick to apply the signature to every certificate.
A global signatory overrides per-user signatures. For the full detail, see Electronic signatures on certificates.
Saving and previewing
- Click Save Certificate Settings to store your changes. You see "Settings successfully saved".
- Use the certificate preview to see a sample certificate with your current settings before you issue real ones.
Field reference
| Setting | Limit / values | Purpose |
|---|---|---|
| Layout | One of the available templates (incl. no-signature) | Certificate design template |
| Primary Color / Secondary Color | Colour values | Certificate colours |
| Last Certificate No. | Number | Starting point for auto-numbering |
| Certificate No. Prefix | Up to 8 characters | Code before the number |
| Certificate No. Suffix | Up to 8 characters | Code after the number |
| Entity Name on Certificate | Up to 120 characters | Organisation name printed on certificate |
| Certificate Title | Required, up to 100 characters | Certificate heading |
| Custom Text 1 / Custom Text 2 | Up to 400 characters each | Custom wording blocks |
| Footer Text | Up to 400 characters | Footer wording |
| Confirmation Text | Up to 300 characters | Declaration/confirmation wording |
| Signatory Title / Name | Text | Printed under the signature |
| Signature image | Best at 650 x 250px | Signature to print |
| Automatically sign all certificates | On/off | Apply signature to all certificates |
Common issues & solutions
| What you see | What it means | How to fix it |
|---|---|---|
| My new settings didn't appear on an existing certificate. | Settings apply to certificates generated afterwards. | Refresh the existing certificate — see Refreshing a certificate and removing SAMPLE text. |
| The certificate number is "already in use." | Your prefix/number/suffix produced a number that already exists. | Adjust the Last Certificate No. or the prefix/suffix. |
| There's still no PBO number on the certificate. | Your PBO number isn't set. | Add it (in your certificate/IT3(d) settings), then refresh the certificate. |
| The certificate still shows SAMPLE. | You're on the trial; the watermark is unrelated to these settings. | See Refreshing a certificate and removing SAMPLE text. |
FAQ
Where do I change the certificate's wording and logo? Under Settings → Section 18A Layout — see How do I customise my Section 18A certificate's appearance (logo, colours, wording, signature)? for the steps.
How do I continue my old certificate numbers? Set Last Certificate No. to your previous number; ActiveDonor increments from there. Add a prefix/suffix if you used one.
Will changing settings update certificates I already issued? No. Refresh each existing certificate (or re-sync a donor's certificates) to pick up the new settings.
Why does the certificate number say "already in use"? The prefix + number + suffix collided with an existing certificate — see How do I fix a duplicate Section 18A certificate number? for the steps.
My certificate numbers aren't following my sequence, or I need to set the next certificate to a specific number. The Last Certificate No. is a single running counter; set it to one less than the number you want next and keep year/text in the prefix/suffix — see How do I fix a duplicate Section 18A certificate number? for the steps.
Related
- How do I fix a duplicate Section 18A certificate number?
- How do I customise my Section 18A certificate's appearance (logo, colours, wording, signature)?
- Electronic signatures on certificates
- Refreshing a certificate and removing SAMPLE text
- Issuing a single Section 18A certificate
- IT3(d) settings: Submitting Entity vs Reporting Entity
- Statement settings