Receipt layout settings
In short: Under Settings → Receipts → Receipt Layout, set the organisation name, wording, banner, whether projects show, whether receipts email automatically, the next receipt number (Last Receipt No.) and the default project, then click Save Changes. You need the Manage Settings permission.
Overview
The receipt layout settings control how your receipt PDFs look and behave: the organisation name and wording printed on them, a banner image, whether project allocations are shown, whether receipts are emailed automatically, the next receipt number, and the default project. This article explains each setting and where to change it.
Before you start
You'll need:
- The Manage Settings permission.
Opening receipt layout settings
Step 1: Open Settings
From the gear/cog dropdown in the top navigation bar, choose Settings.
Step 2: Open the Receipts settings
In the Settings left-hand menu, click Receipts.
Step 3: Use the Receipt Layout tab
The Receipt Layout tab is shown first (it's the default tab). A live Receipt Preview PDF lower on the page shows the effect of your changes after saving.
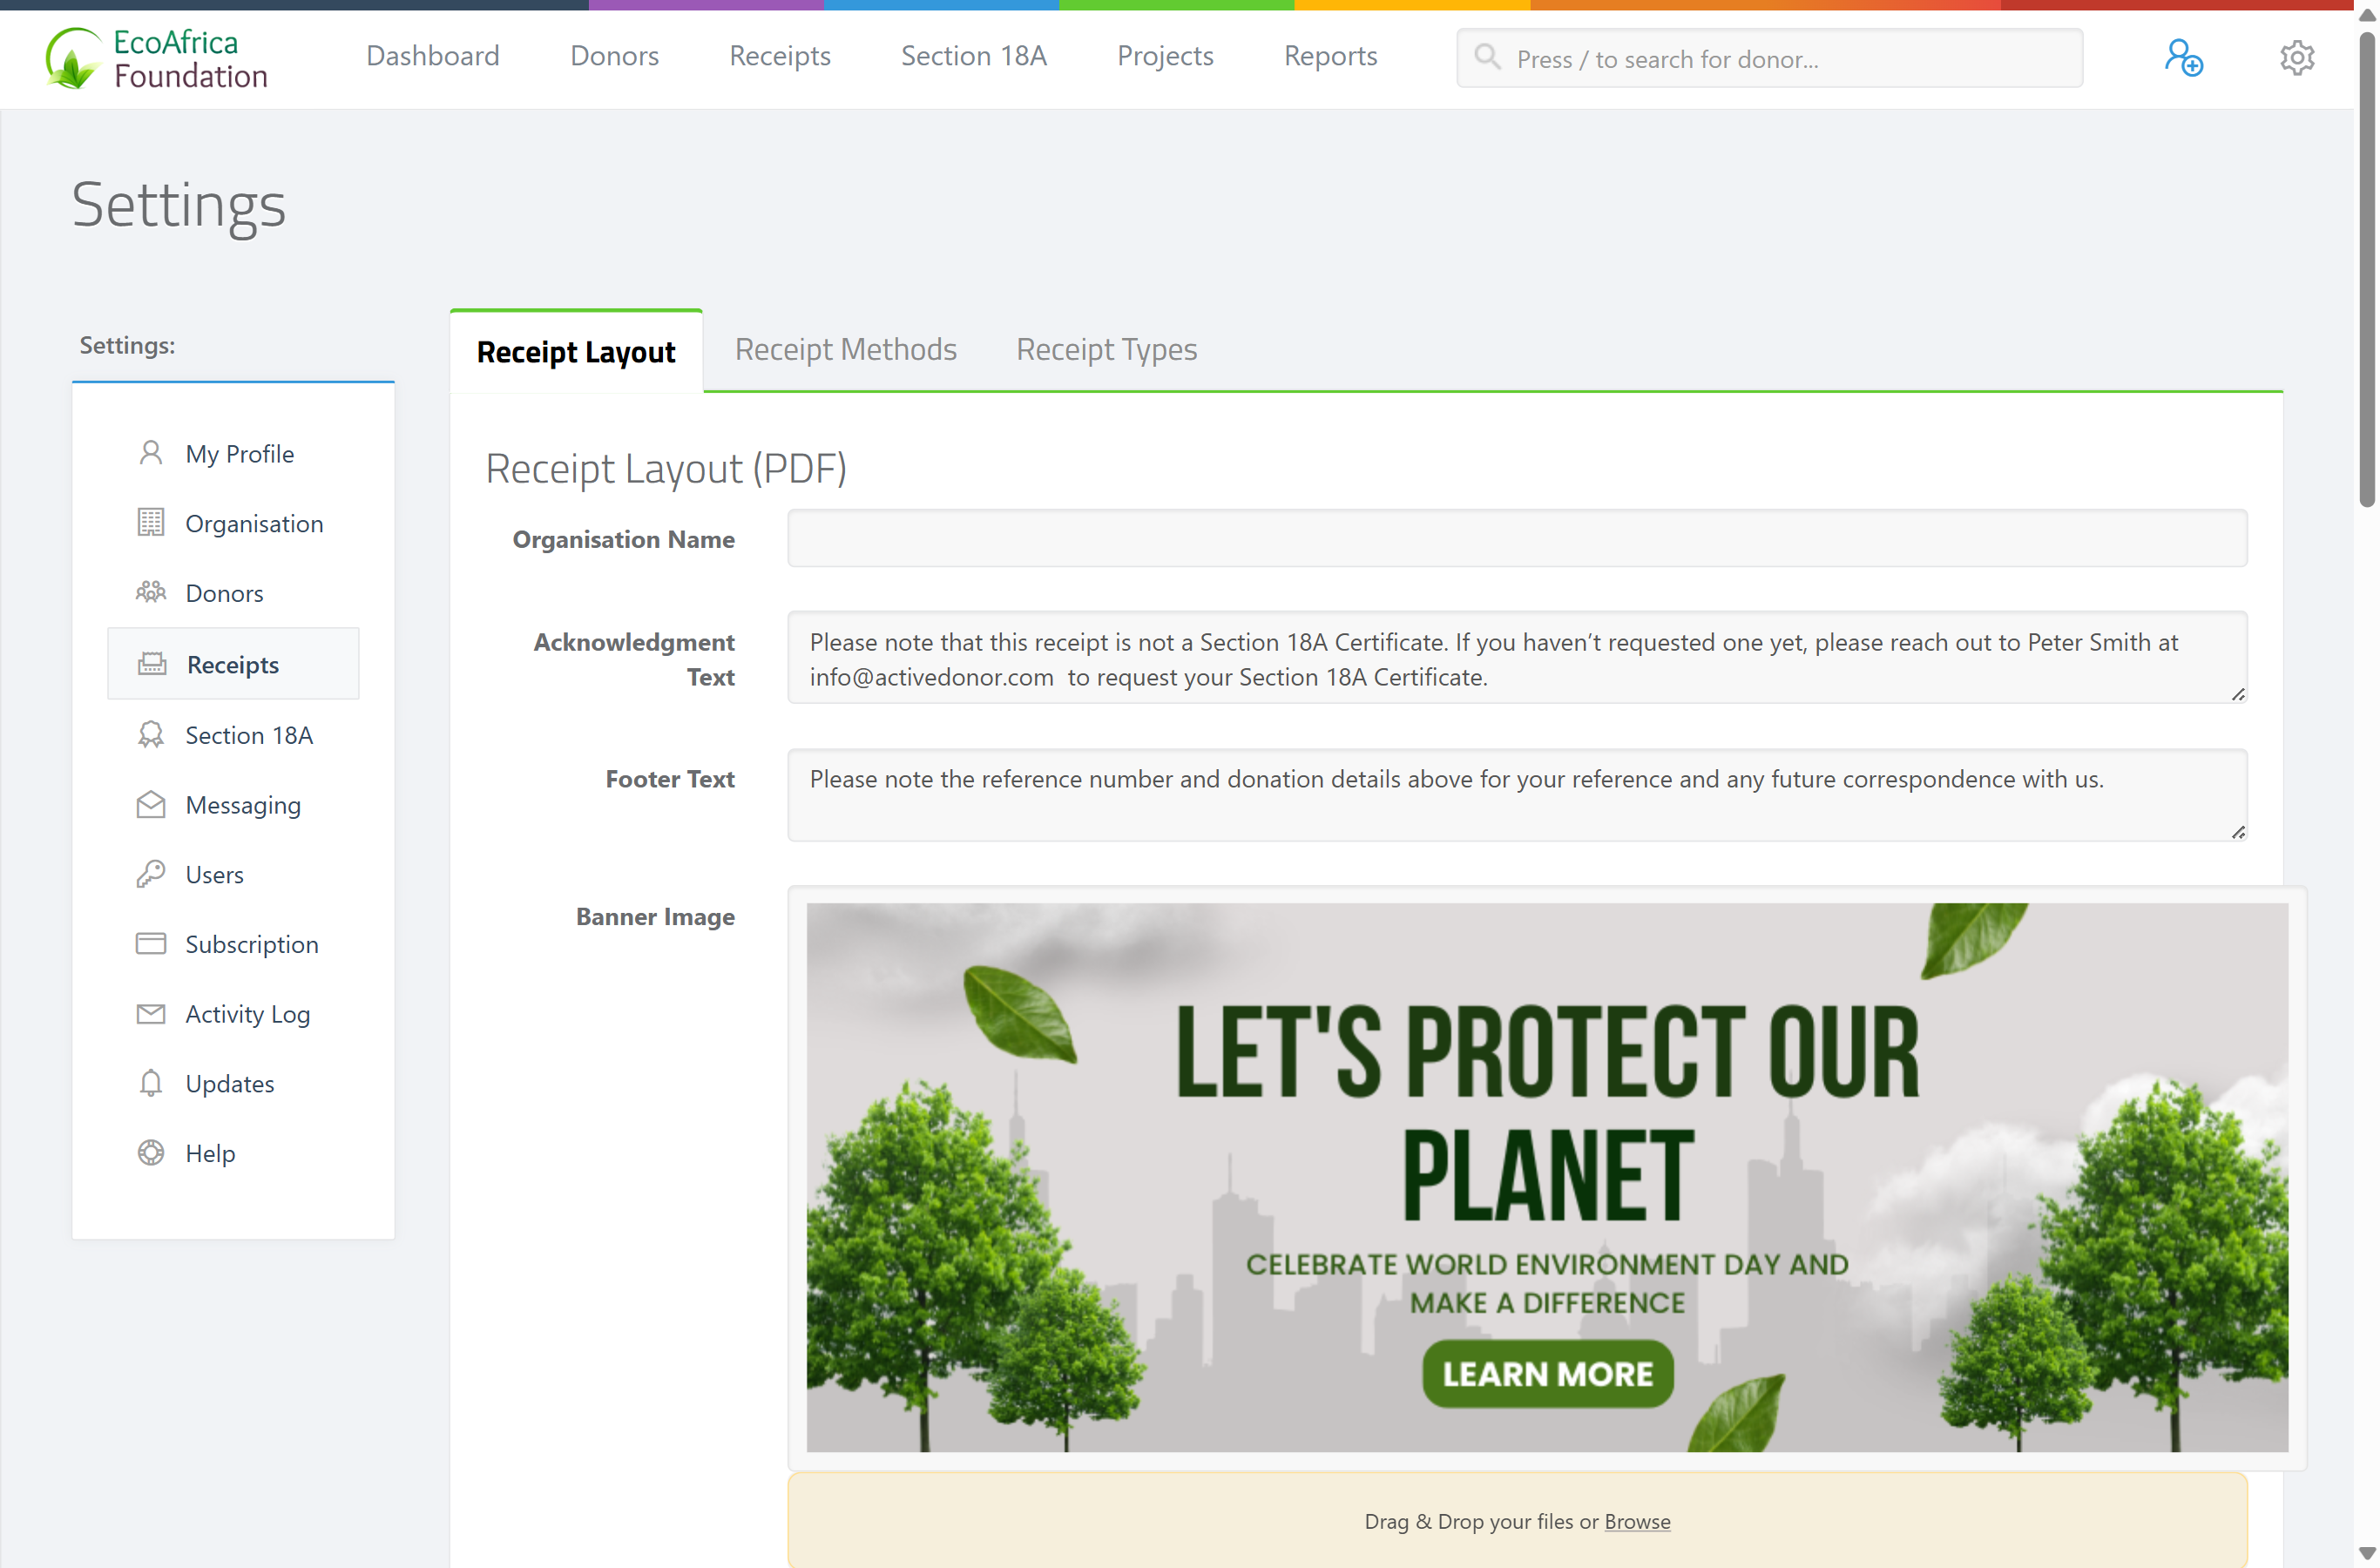
The settings
| Setting | What it does |
|---|---|
| Organisation Name | The name printed on the receipt (up to 100 characters). |
| Acknowledgment Text | A short acknowledgement/thank-you line shown on the receipt (up to 200 characters). |
| Footer Text | Footer text shown at the bottom of the receipt (up to 200 characters). |
| Banner Image | A banner/header image for the receipt. Must be a valid image, 851 × 315 pixels, up to 1 MB. |
| Banner Link | A web address the banner links to. Must be a valid URL (start with http:// or https://). |
| (Remove banner) | A "Click here to remove the banner image" checkbox appears once a banner is uploaded, to delete it. |
| Show Projects on receipt | When ticked, the project allocations are listed on the receipt PDF. |
| Send receipt email automatically once captured? | When ticked, every newly captured receipt is automatically emailed to the donor shortly after it's saved. |
| Last Receipt No. | The most recently used receipt number. The next receipt will be one higher. You can raise this, but not below the highest existing receipt number. |
| Default Project | The project pre-selected when capturing a receipt and used as the default for CSV uploads. |
After making changes, click Save Changes. A "Settings successfully saved" message confirms it.
How the receipt number is controlled
Receipt numbers are assigned automatically — you don't type a number on each receipt. Last Receipt No. sets the starting point: the next receipt is one higher. You can raise it (for example to skip a range or continue from a legacy system), but you cannot set it below the highest receipt already issued, or you'll see "Must be equal to or greater than the last receipt number." This prevents duplicate receipt numbers.
Notes
- Banner image size is strict. It must be exactly 851 × 315 pixels and no larger than 1 MB, otherwise the upload is rejected.
- Last Receipt No. can't go backwards. Entering a number lower than the highest receipt already issued gives "Must be equal to or greater than the last receipt number."
- Banner link must be a full URL. If it isn't a valid URL (starting with
http://orhttps://), saving fails.
Custom receipt templates
Most organisations use the standard ("classic") receipt template. Some have a bespoke template configured by ActiveDonor; if so, your receipts use that instead. Contact ActiveDonor support if you need a custom layout.
Common issues & solutions
| What you see | What it means | How to fix it |
|---|---|---|
| "Must be equal to or greater than the last receipt number." | The Last Receipt No. you entered is below an existing receipt number. | Enter a value equal to or higher than the highest receipt already issued. |
| The banner image is rejected | It's not exactly 851 × 315 pixels, is over 1 MB, or isn't an image. | Resize/replace it to a valid image of exactly 851 × 315 px, under 1 MB. |
| Save fails on Banner Link | The link isn't a valid URL. | Make sure it starts with http:// or https://. |
FAQ
How do I change the receipt number / where numbering continues from? Set Last Receipt No. on the Receipt Layout tab. The next receipt is one higher. You can raise it, but not below the highest existing receipt number.
Why won't it let me lower the Last Receipt No.? To prevent duplicate receipt numbers. You'll see "Must be equal to or greater than the last receipt number." You can only set it equal to or above the highest receipt already issued.
What size must the banner image be? Exactly 851 × 315 pixels, and no larger than 1 MB, or the upload is rejected.
How do I make receipts email themselves to donors automatically? Tick Send receipt email automatically once captured? and save. Each new receipt is then emailed to the donor shortly after capture.
Can I get a custom receipt design? Most use the standard template. For a bespoke layout, contact ActiveDonor support.
Related
- Printing, downloading and emailing a receipt
- Receipt methods (what they are and managing them)
- Receipt types
- Creating a receipt
- Organisation settings
Need a hand?
If a banner won't upload or the receipt number won't save, contact ActiveDonor support with a screenshot of the error.